
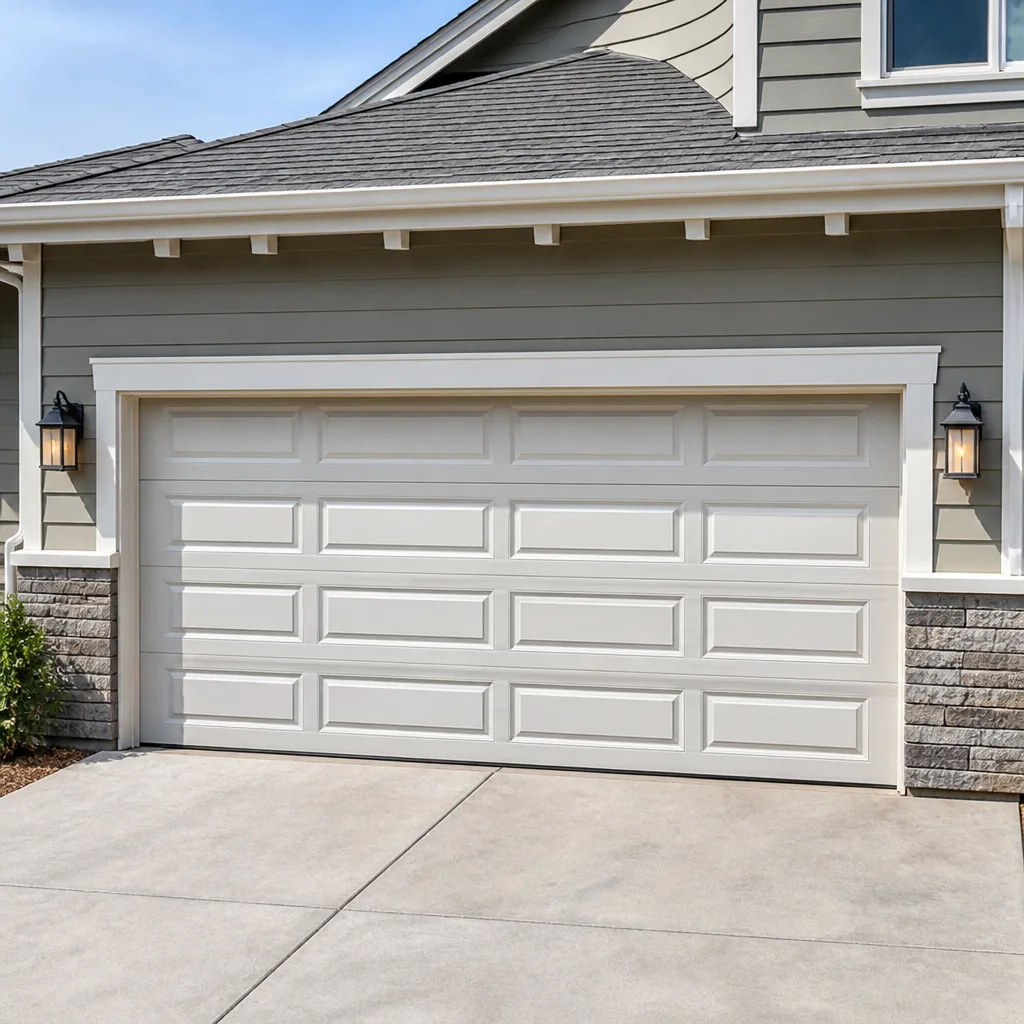
 Raised-panel steel
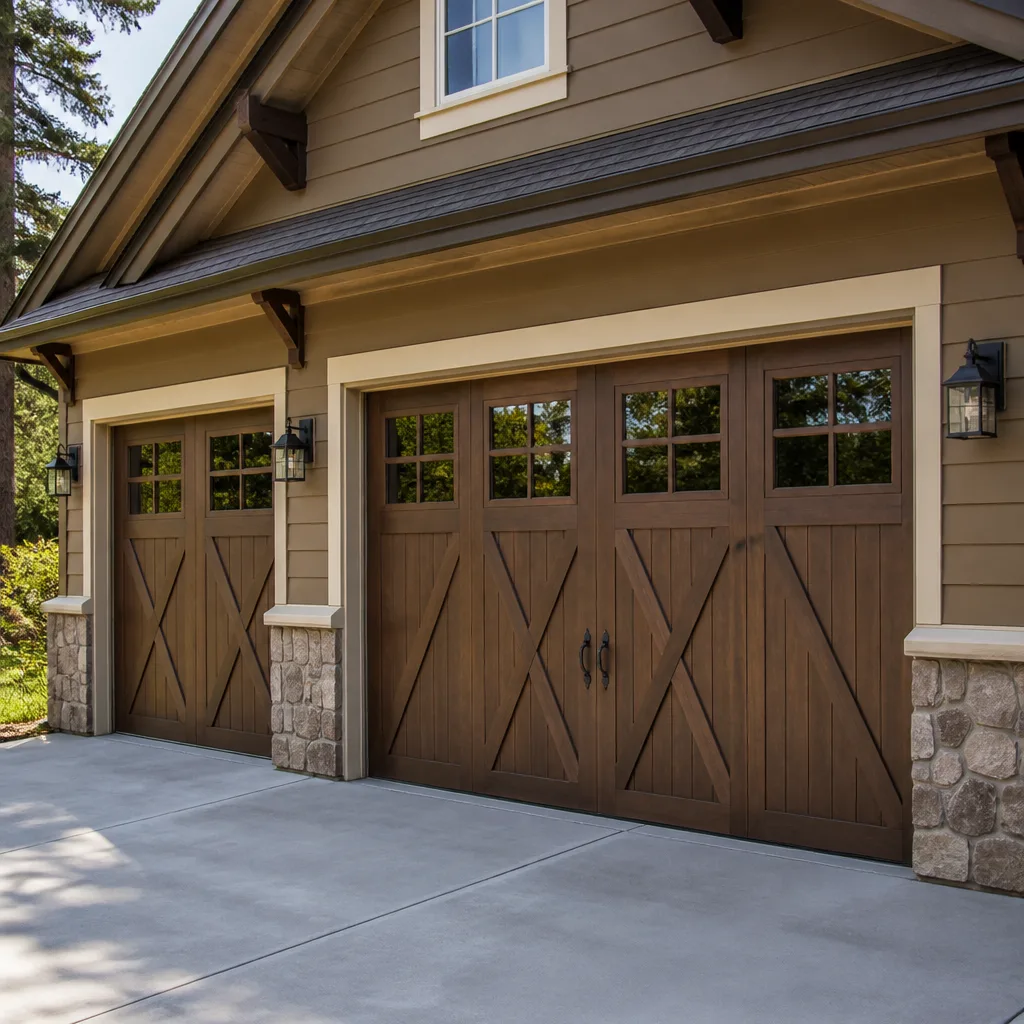 Carriage house
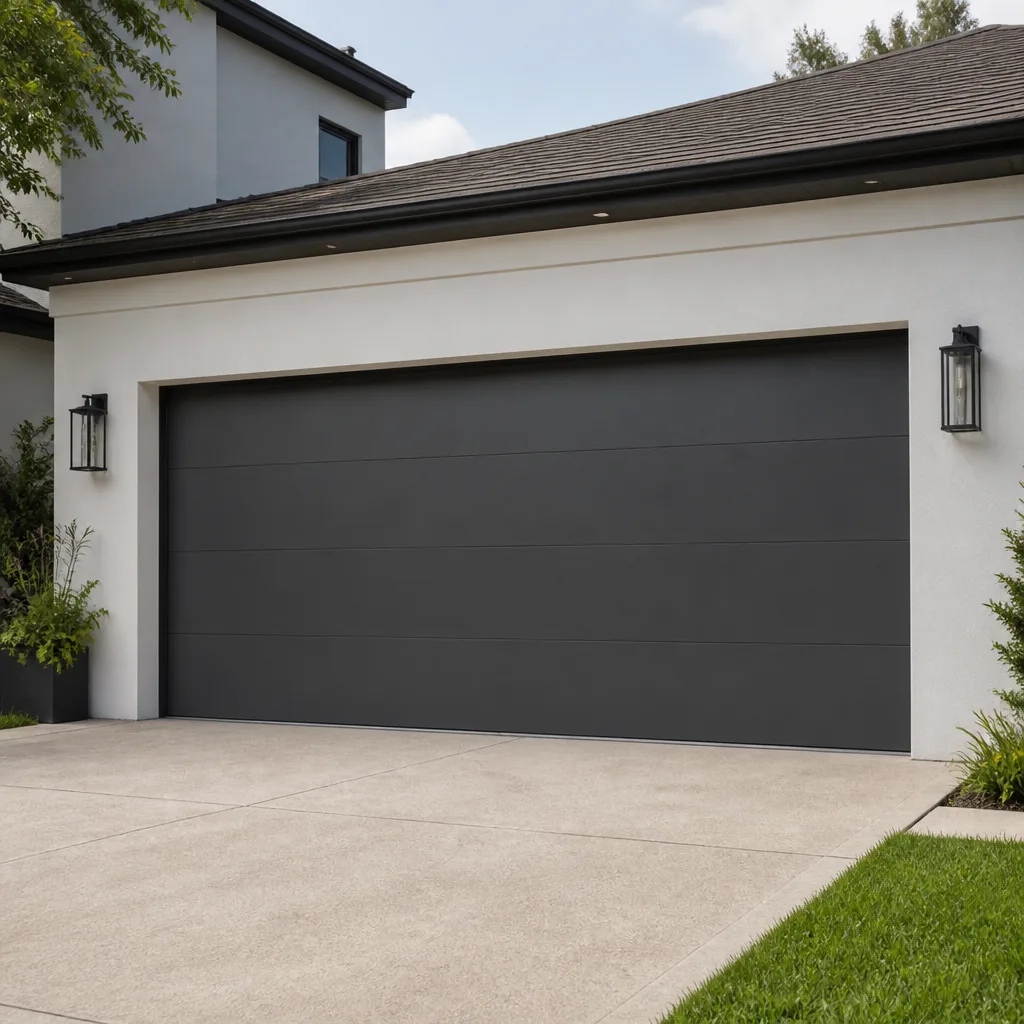 Modern flush
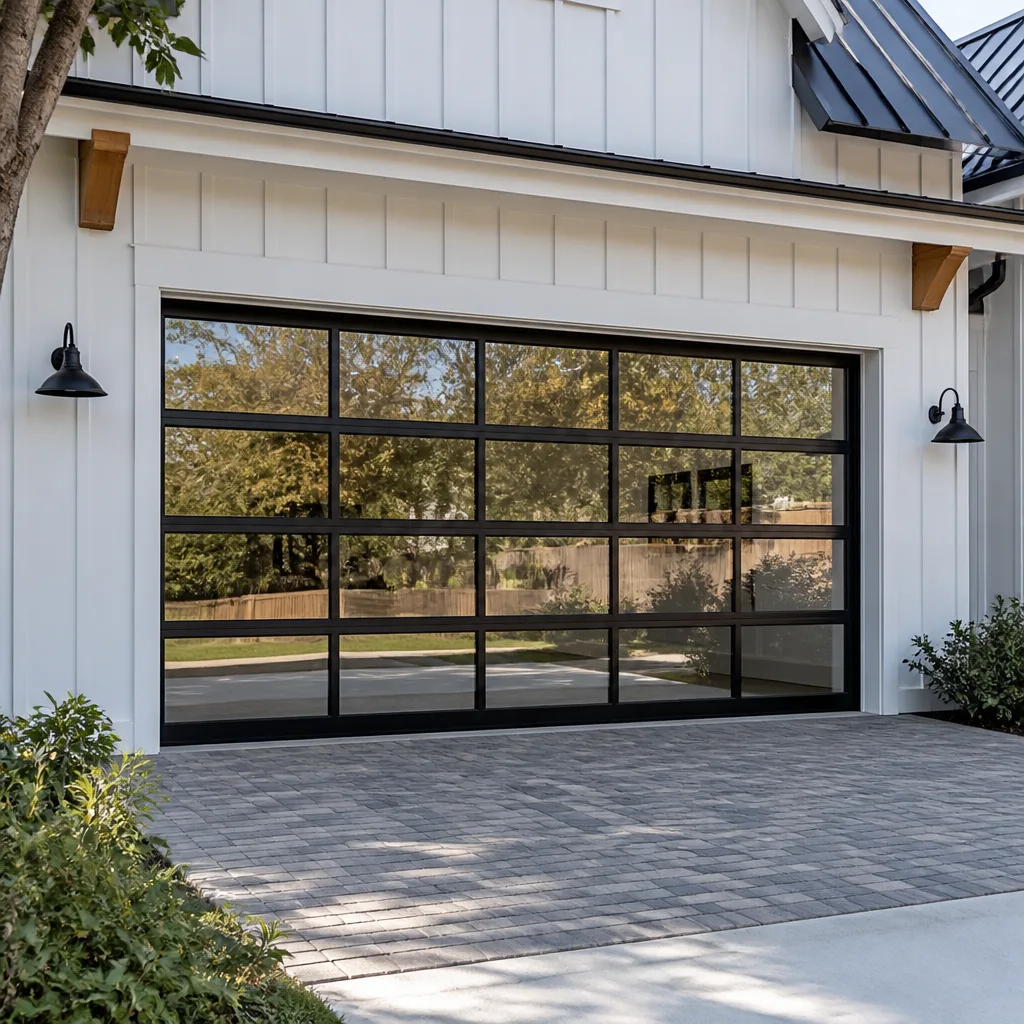 Full-view glass
 LiftMaster openers
 Chamberlain openers
Full 25-point door and opener safety check with every visit - springs, cables, rollers, tracks, and your LiftMaster or Chamberlain opener included
You get a price before we start. It does not change when the truck arrives.
Get your free estimateRaynor Weather Seal Replacement: The Austin Owner’s Guide
Raynor weather seal replacement in Austin typically runs $110 – $220 installed, and we stock Raynor-specific and universal-fit bottom seals on our trucks so most jobs are done in a single visit. The part itself is the rubber or vinyl strip that runs along the bottom edge of your door and the weatherstripping that frames the sides and top. You’ll usually notice it’s failed when you see daylight under the door, feel a draft in the garage, or spot cracked, flattened rubber that’s no longer making contact with the concrete.
This is one of those repairs that sneaks up on people. The seal works fine for years, then one Austin summer of 100-plus degree heat bakes the rubber until it stiffens and splits. Then the winter rains come and water pools under the door. We replace these constantly, and the difference between a good seal job and a sloppy one comes down to measuring correctly, matching the right profile to your Raynor door, and actually prepping the bottom retainer so the new seal seats properly.
Which Raynor Models This Applies To
Raynor builds residential doors across several series lines, and the weather seal type depends on your door’s bottom retainer design. The most common Raynor models we service in Austin include the Relante, Aspen, AP200, and the commercial-grade FlexiGuard series. Each uses a T-style or bead-style bottom seal that slides into an aluminum or steel retainer channel fastened to the bottom door section. If your door has a retainer that runs the full width and the seal slides out sideways, you need a T-channel or round-bead profile. If the seal is nailed or screwed directly to the bottom panel, you need a flat edge profile.
Here’s the compatibility gotcha that trips people up: a Clopay or Amarr bottom seal is not a drop-in replacement for a Raynor retainer, even when both look like T-style rubber. The T-bead width and stem height differ by a few millimeters, and if the stem is too loose, the seal will sag and drag. Too tight, and you’ll fight it for an hour before giving up. That’s why we don’t guess. We measure the retainer’s inner channel and the gap between the door and the concrete, then pull a seal that matches both. Our techs also carry quality universal seals rated for the retainer profiles Raynor has used over the last 15 years. We’re an independent service provider, not affiliated with Raynor, but we work on their doors constantly and keep the common profiles on hand.
Styles & brands we work with
Signs Your Raynor Weather Seal Replacement Is Failing
- Daylight visible under the closed door. This means the seal has flattened or the door’s bottom panel has settled out of level. Even a quarter-inch gap is enough for dust, bugs, and rain to get in. The fix is a new seal, and sometimes a limit adjustment so the door closes fully.
- Rubber is cracked, brittle, or breaking off in chunks. Austin’s UV exposure and summer heat cycles harden the vinyl compound over time. Once it starts cracking, the ends will tear within months, and the damage only accelerates. There’s no good repair for brittle rubber; replacement is the honest fix.
- Water staining on the garage floor near the door. This shows up every time after rain, and the culprit is almost always a seal that’s no longer making full contact across the width. The water follows the low spots in the concrete and the gaps in the seal.
- You can feel air moving around the door edges. Side and top weatherstripping wear too, especially on the hinge edges. If cold air or hot summer air is moving around the perimeter, the side seals are flattened and the bottom seal is usually due as well.
- The seal has pulled out of the retainer at one end. This happens when the bottom panel hits something uneven, or when the retainer’s end cap or screw is missing. If one end is hanging loose, the rest of the seal will shift and bind, and the door will close unevenly on that side.
See the difference
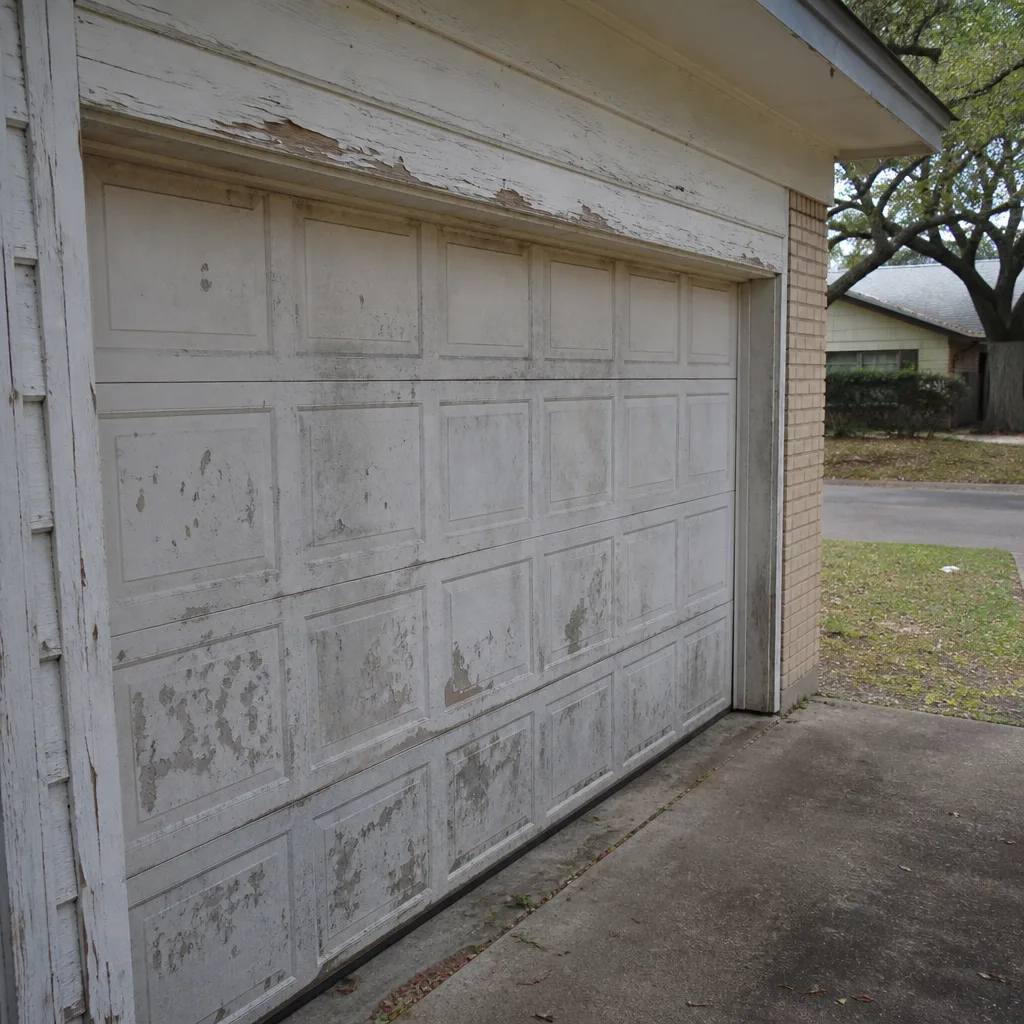 Before
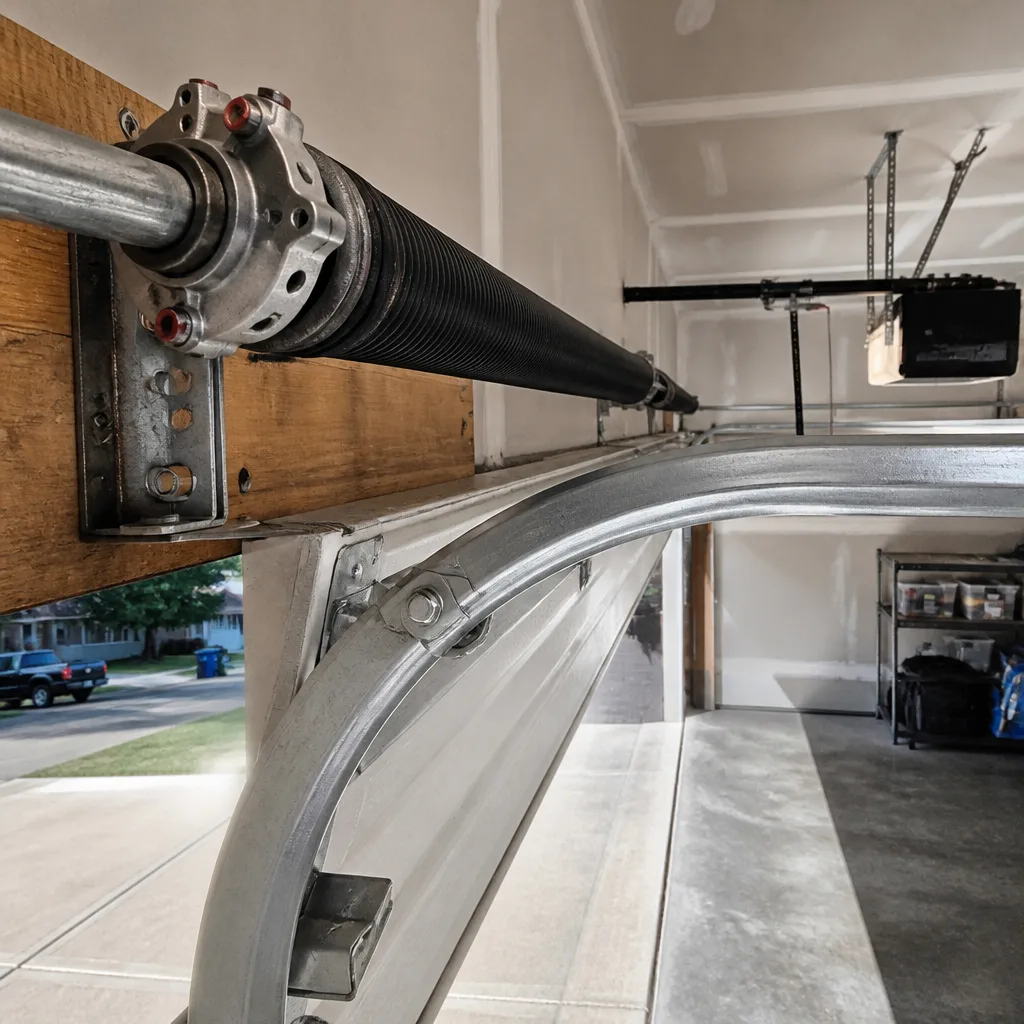 After
After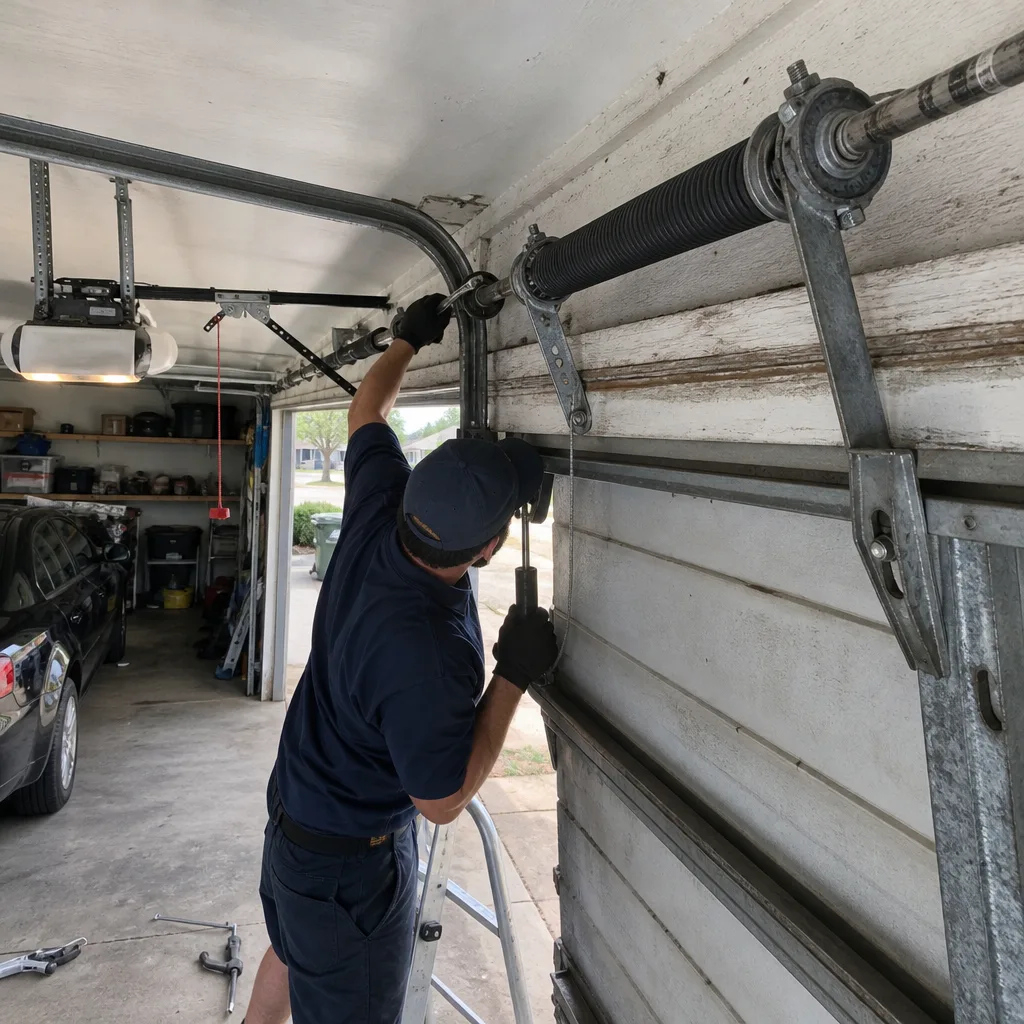 Before
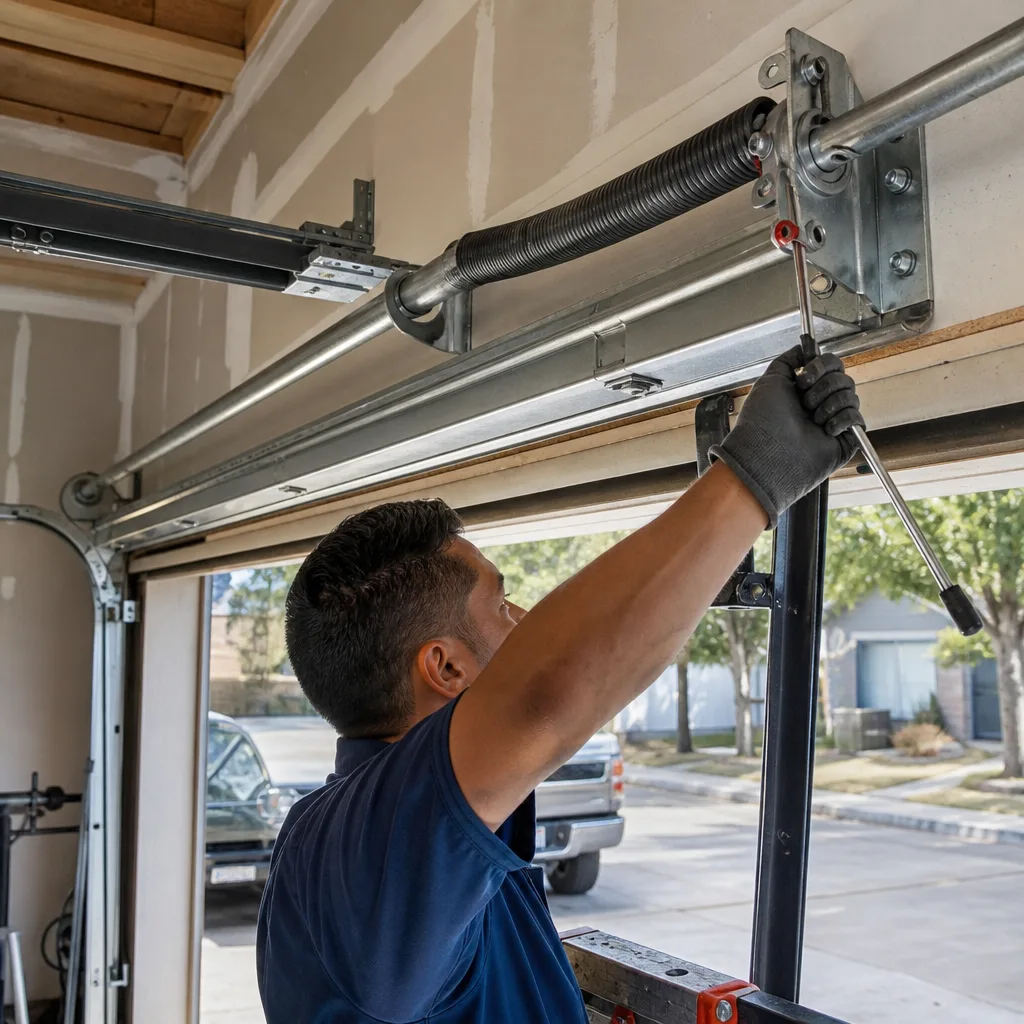 After
After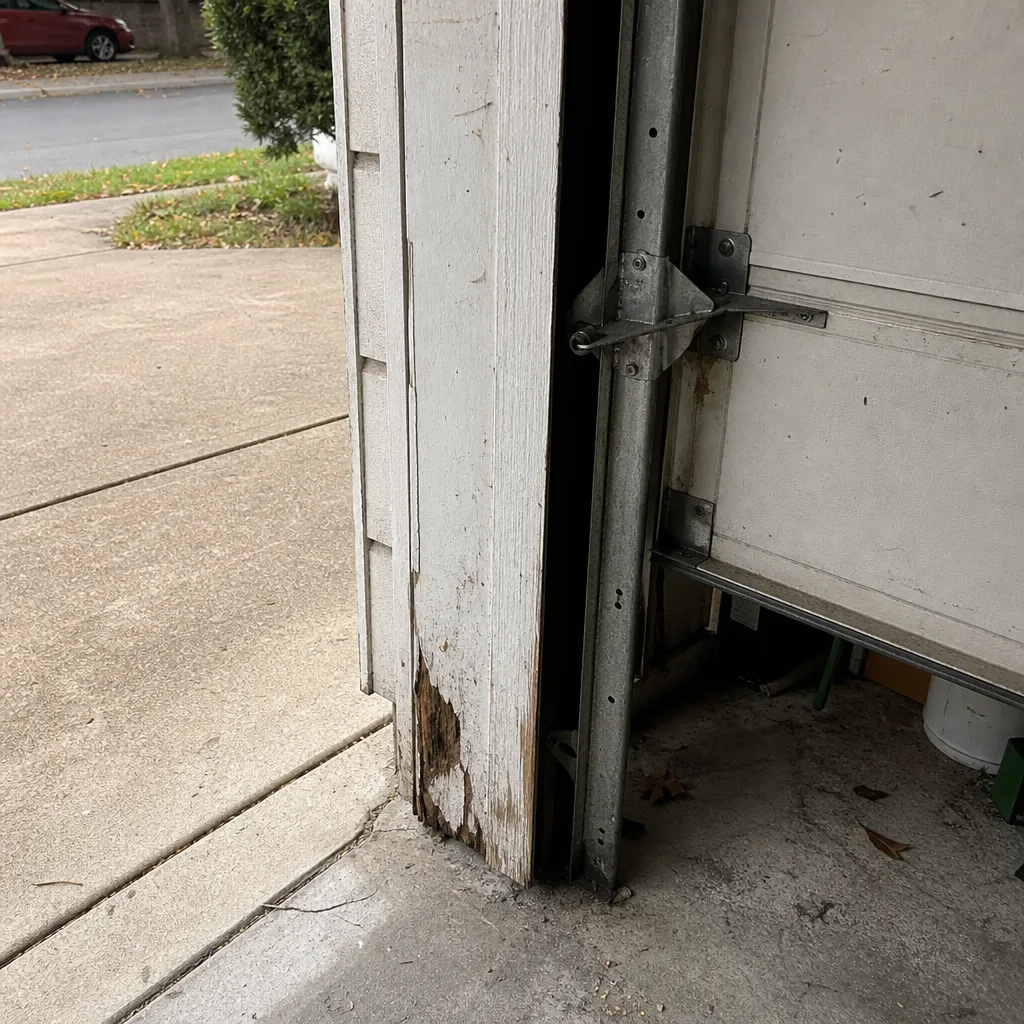 Before
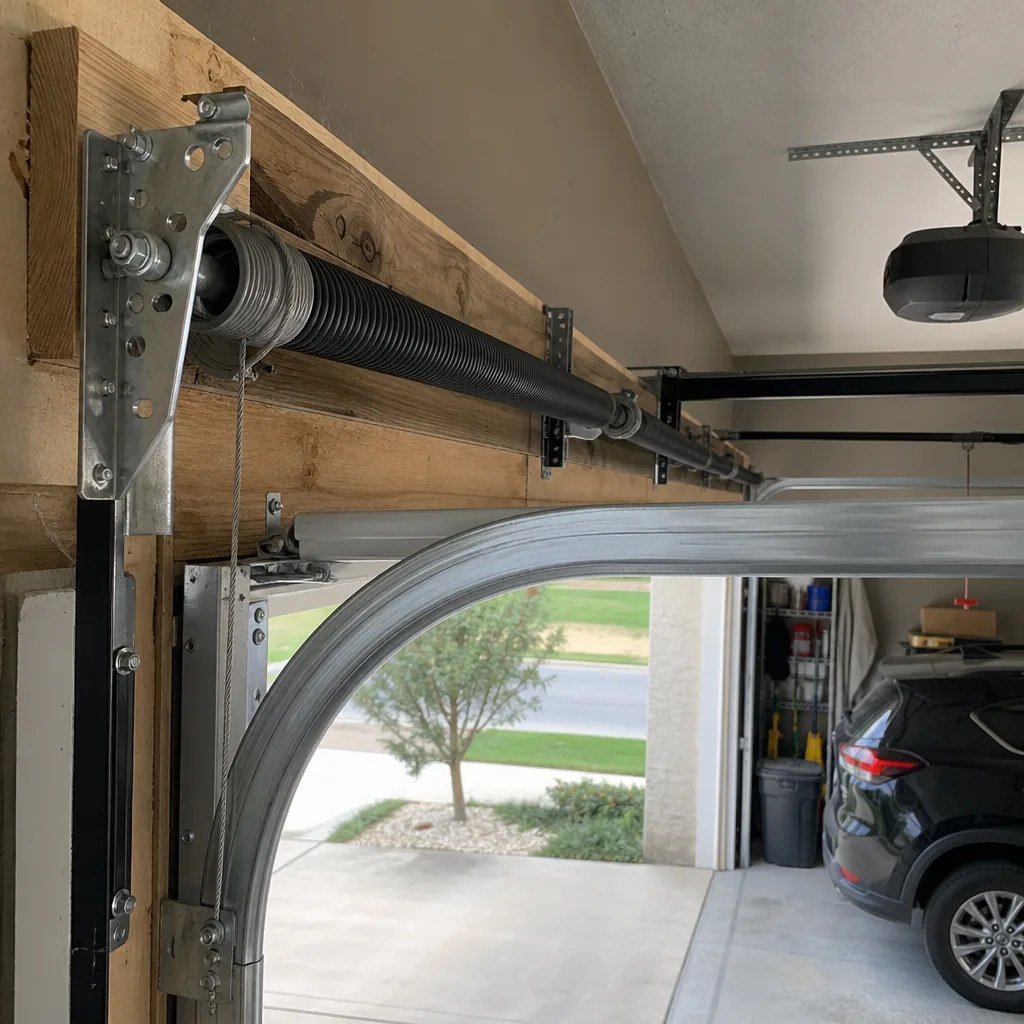 After
AfterReplacement Cost & What’s Included
In Austin, a Raynor bottom seal replacement is a straightforward job. Most run $110 – $220 installed, which covers the new seal material, trimming to width, lubricating the retaining channel, seating the seal properly, and a quick adjustment check on the door’s closed position. If the side and top weatherstripping are also shot, expect the job to land on the higher end of that range. A full perimeter reseal is less than replacing a single door panel, and it fixes more problems than most people expect. Here’s the breakdown:
- Bottom seal only (typical): $110 – $160
- Bottom seal with side and top weatherstripping: $160 – $220
- Retainer replacement if the aluminum channel is bent or missing: add $20 – $40
Every Bramwell job gets a written price before we start. The number we quote is the number on the invoice, and the work carries the 365-Day Done Right Promise. If the seal fails inside a year, we come back and fix it at no charge. That commitment is in writing, not just said at the door.
DIY or Call Us?
Replacing a slide-in bottom seal isn’t dangerous like working on torsion springs is; there’s no stored tension in the rubber. But it’s also not the easy five-minute job some YouTube videos make it look like. The old seal is often so stiff and embedded with grit that it won’t slide out without soapy water, a lot of elbow grease, and a pair of pliers. Then you have to get the exact profile, cut it to length without leaving a gap at the ends, and lube the channel so the new seal slides without binding. If you order the wrong T-bead size because you guessed, you’re stuck waiting days for the right part while the garage stays drafty.
If you want to tackle it yourself, we’ll honestly tell you the first step is measuring the retainer channel precisely. But if you’d rather have it done in one visit by someone who does this every week, call us at (325) 246-2936. We’ll match the right seal to your Raynor, install it, and clean up the old rubber before we leave.
FAQs
Expect 5 to 8 years in Austin, depending on sun exposure and how often the door runs. A north-facing door in shade may hit 10 years, while a west-facing door that bakes every afternoon may crack and rip in 4 or 5. The extreme heat cycles and UV are what kill the vinyl compound here. If your seal is over 6 years old and you’re seeing cracks, it’s time to plan a replacement before it splits fully. Call (325) 246-2936 for a free estimate on a new Raynor-compatible seal.
No, and any “repair” on torn rubber is a temporary patch at best. Once the material has cracked, the rest of the seal is the same age and will keep failing. Replacement is the only fix that actually solves the problem, and it’s the least expensive part on the whole door to swap.
A bottom seal swap takes 20 to 30 minutes. A full perimeter job with side and top weatherstripping takes about an hour. Most Austin customers are back to their day the same morning.
We stock the common Raynor-compatible profiles on our service vehicles, including T-style and round-bead bottom seals in the sizes most Raynor residential doors use, plus matching side and top weatherstripping. We also carry universal-fit seals that cover the odd profiles. If we don’t have your exact configuration, we order it and return quickly. We stock parts for LiftMaster, Chamberlain, and Genie openers as well.
Written by Marcus Ellery, Owner, Bramwell Garage Doors Austin at Bramwell Garage Doors Austin, serving Austin and nearby areas.