
Last updated October 16, 2026
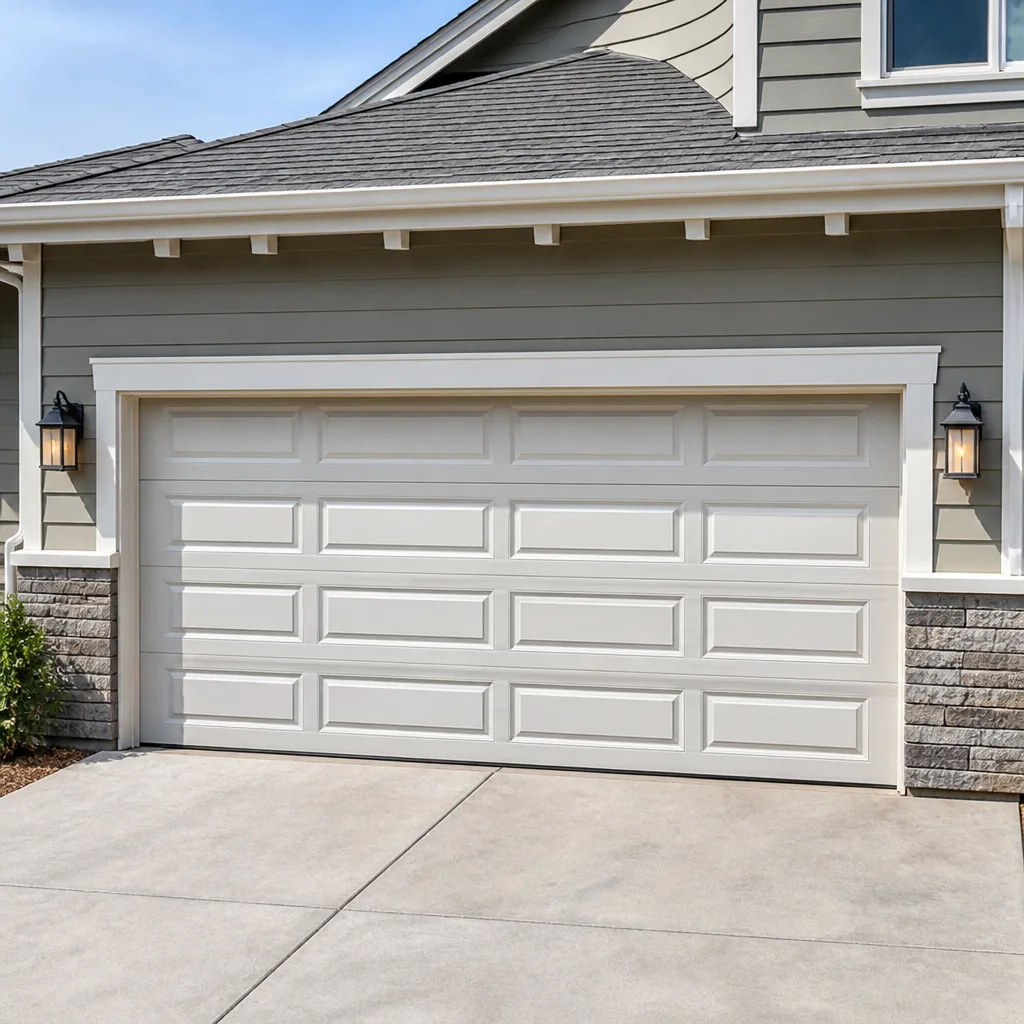 Raised-panel steel
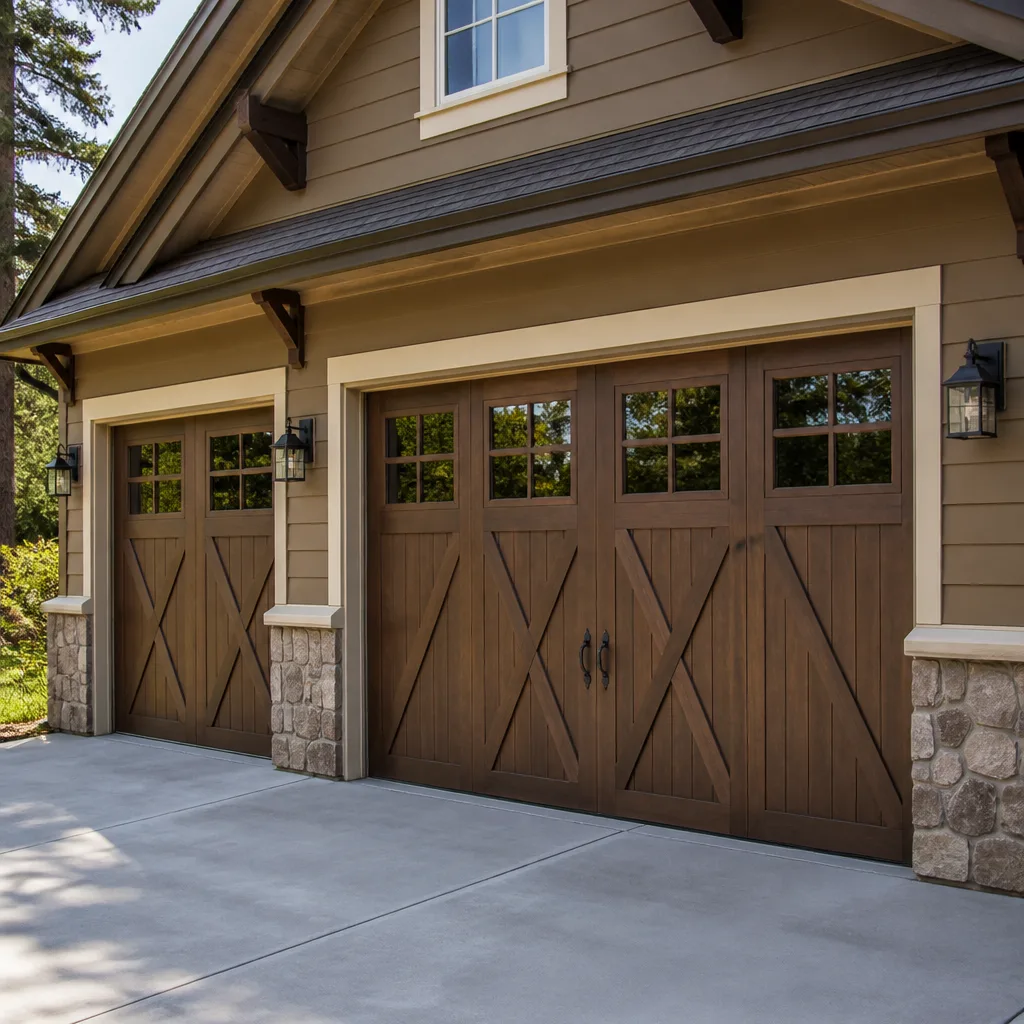 Carriage house
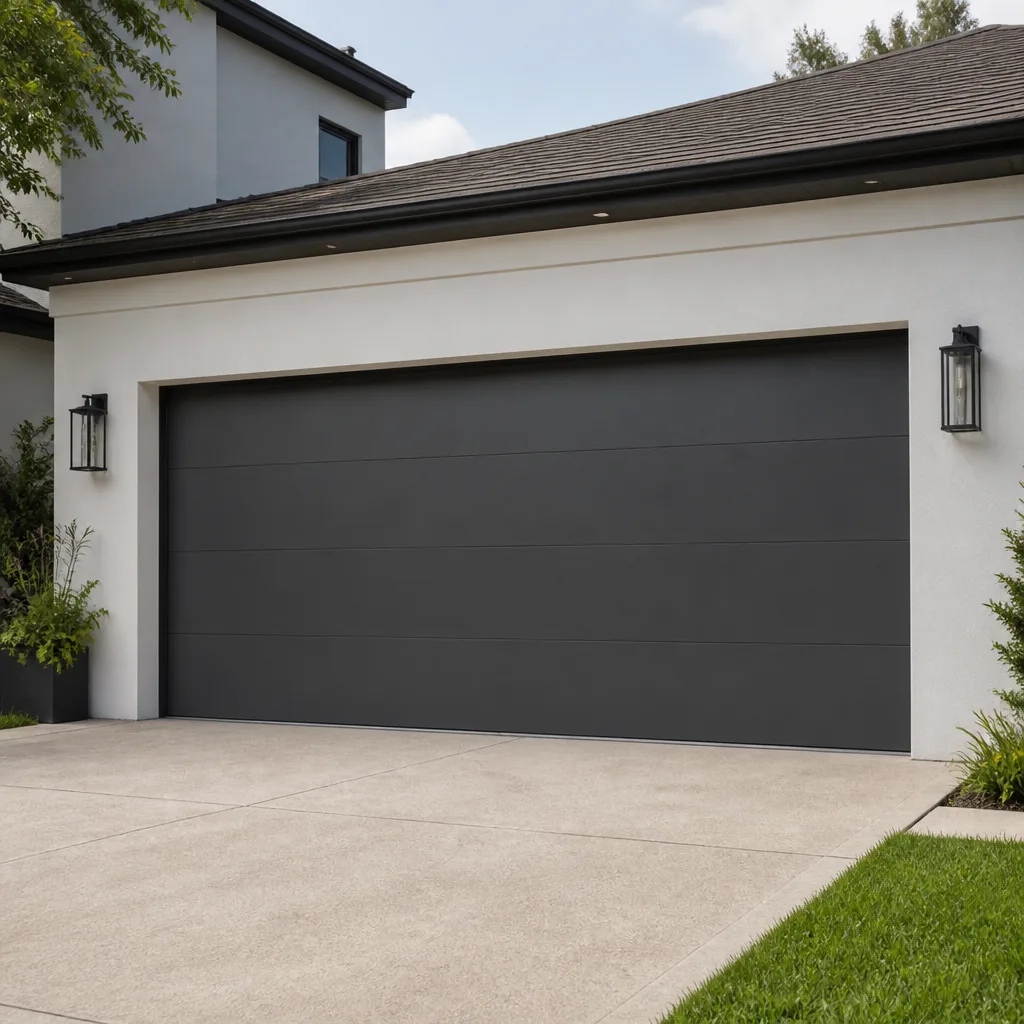 Modern flush
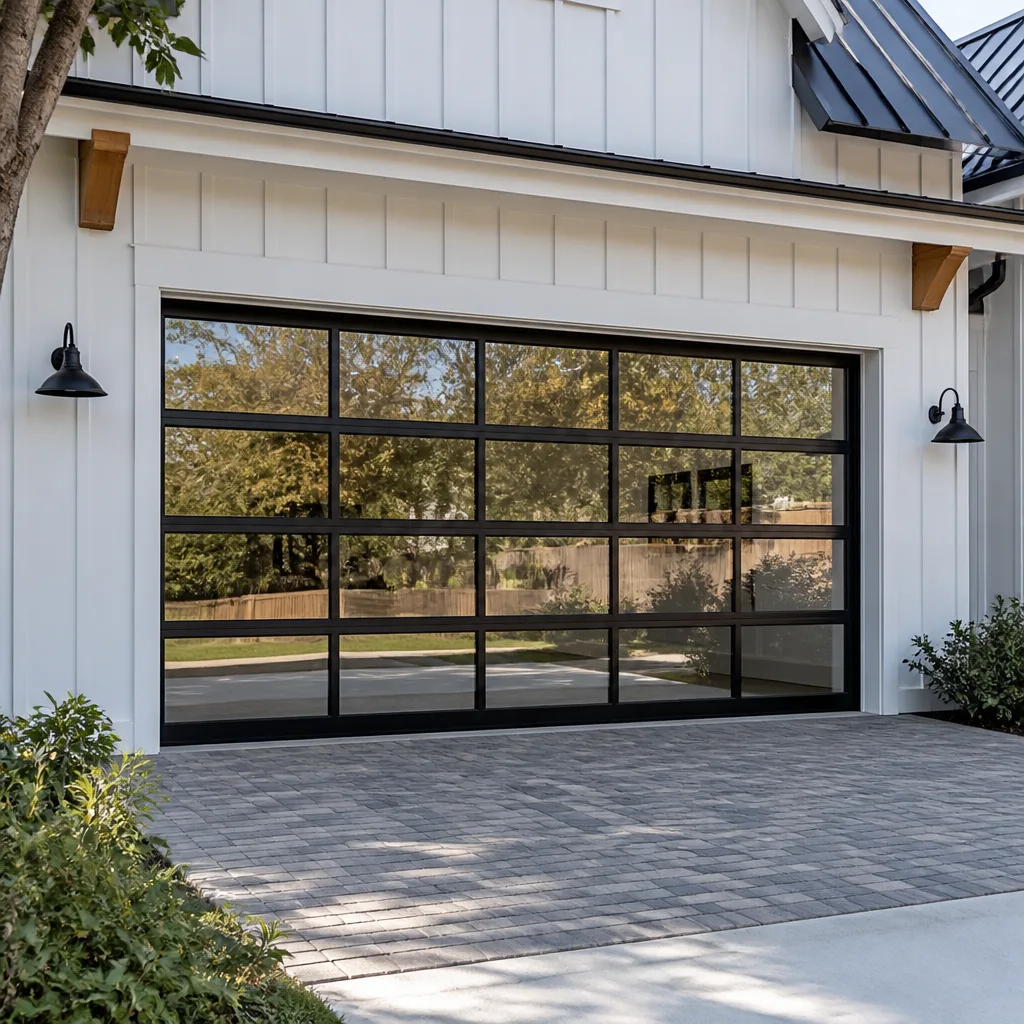 Full-view glass
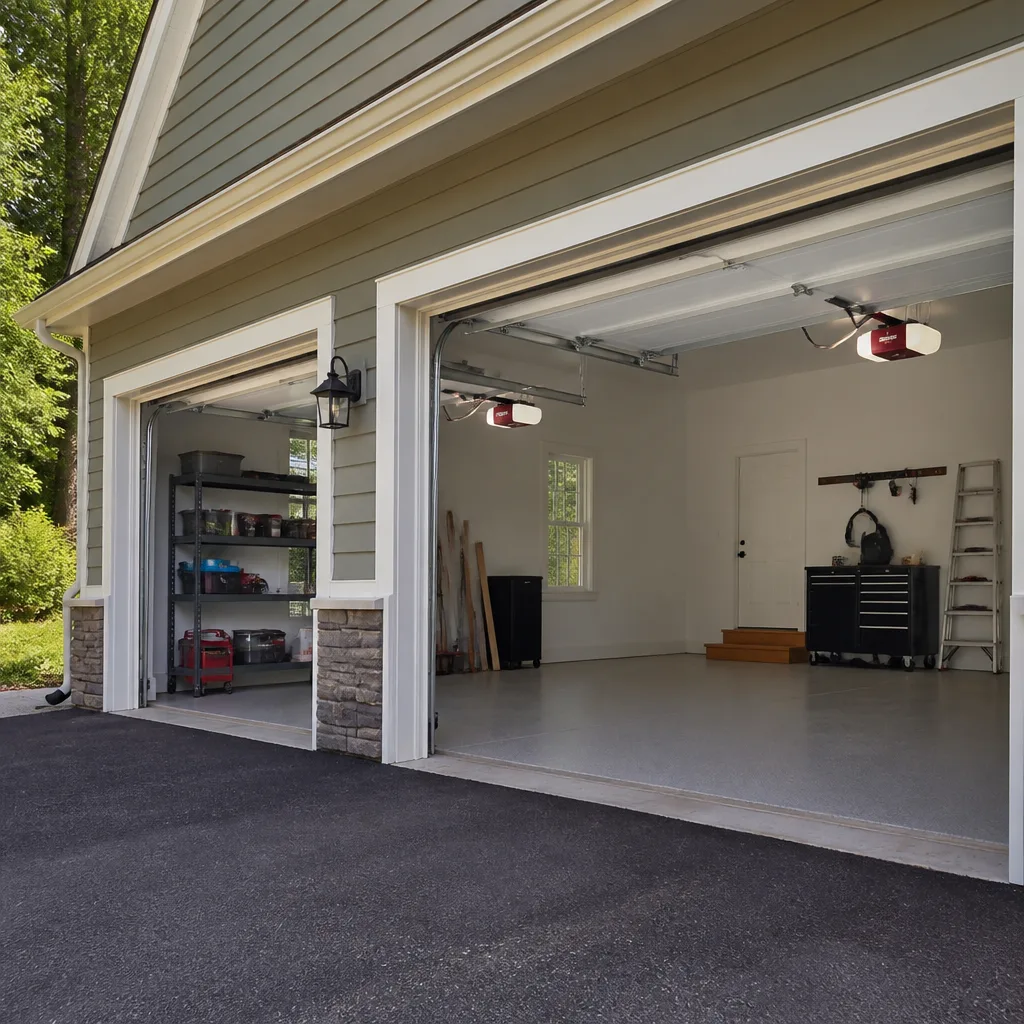 LiftMaster openers
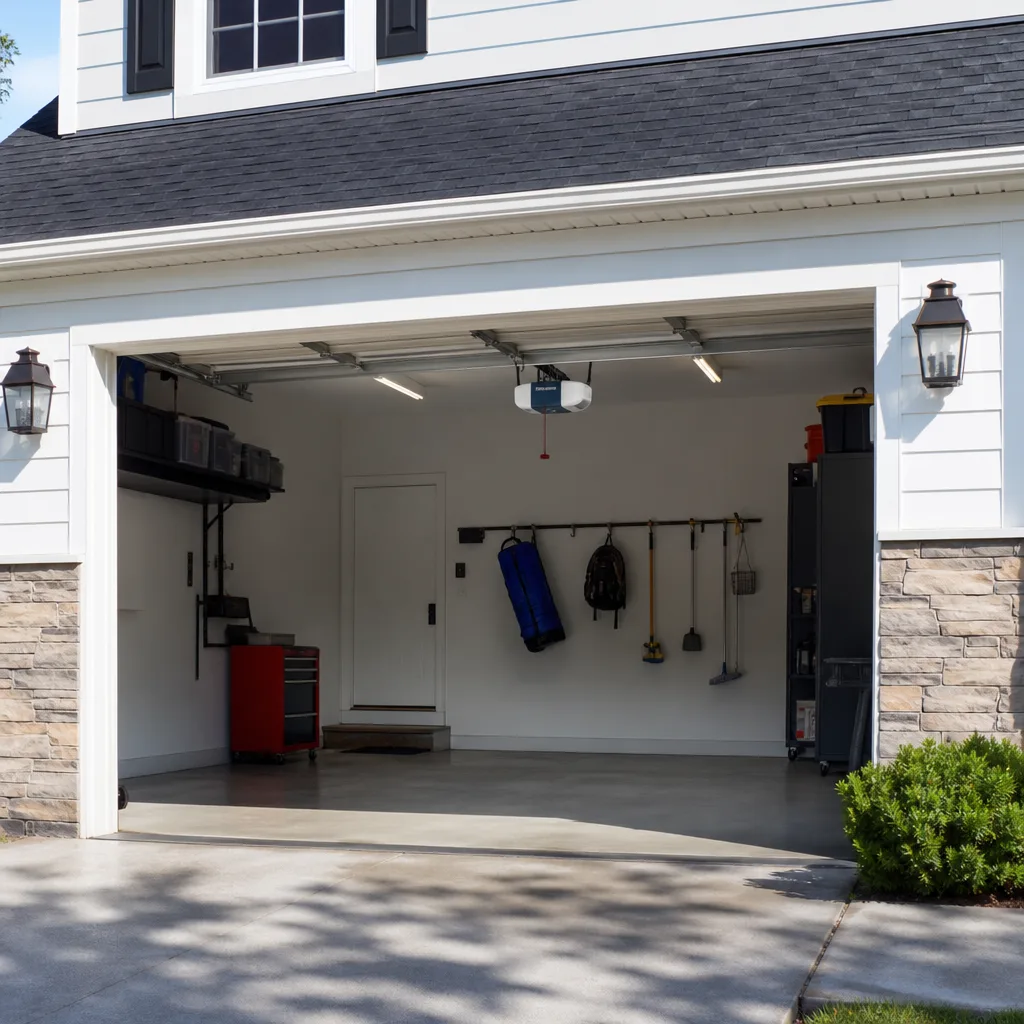 Chamberlain openers
Full 25-point door and opener safety check with every visit - springs, cables, rollers, tracks, and your LiftMaster or Chamberlain opener included
You get a price before we start. It does not change when the truck arrives.
Get your free estimateGarage Door Repair Maintenance Checklist for Austin Homeowners
A torsion spring rated for 10,000 cycles loses that lifespan noticeably faster when the garage ceiling hits 140°F during an Austin August, and the maintenance reminder sticker on most doors was written for a garage in Ohio. This guide covers what actually fails on Austin doors and when: spring fatigue from heat, weatherseal rot from UV, and opener drift from the power flickers that come with Hill Country thunderstorms. For professional help with any of these issues, see our Garage Door Repair services. You’ll learn which tasks to do monthly, which ones are seasonal, and the three adjustments that void most warranties if you try them yourself.
Styles & brands we work with
Quick Answer
Austin homeowners should follow a season-adjusted maintenance routine: lubricate rollers and hinges every 3 – 4 months with a lithium-based or silicone spray, inspect weatherseals for UV brittleness after summer and after the first hard freeze, test spring tension monthly using the two-foot lift test, and have a professional inspect torsion springs and cables annually. The heat and humidity in this part of Texas shorten the life of springs, seals, and opener logic boards compared to national averages.
Table of Contents
- Why Austin’s Climate Changes the Maintenance Equation
- The Month-by-Month Austin Maintenance Table
- Lubrication: What to Use, What to Avoid in 100°F Attics
- How to Test Spring Tension Safely From the Ground
- Weatherstripping: UV Brittleness on South- and West-Facing Garages
- The One Limit-Switch Adjustment You Can Make, and Three You Shouldn’t
- Opener Maintenance for Storm-Season Power Fluctuations
- Common Mistakes to Avoid
- When to Call a Professional
- Frequently Asked Questions
- The Bottom Line
Why Austin’s Climate Changes the Maintenance Equation
Most garage door maintenance guidance is written for a four-season climate with a mild summer. Austin doesn’t have that. From late May through mid-September, attic temperatures above a garage regularly reach 130 – 150°F. That heat doesn’t just sit there; it radiates down onto the torsion springs, the opener motor, the logic board, and every piece of rubber weatherseal on the door. Then, between March and June and again in September and October, thunderstorm season brings rapid barometric swings, lightning strikes near power lines, and the kind of voltage sags and surges that confuse opener logic boards.
We’ve repaired doors in Mueller, Circle C, Allandale, and Wells Branch that failed in patterns tied directly to these conditions. A spring that would last seven or eight years in a temperate climate often lasts five or six here if it isn’t lubricated and inspected. Rubber weatherseal that would survive a decade in the Midwest turns brittle and cracked in three to four Austin summers, especially on south- and west-facing doors. The maintenance you do in Austin needs to account for this.
That’s why the checklist below is organized by month and tied to what’s actually happening outside your garage door, not a generic spring/fall split. If you’re looking for a broader overview of what repair work looks like on Austin doors, our Garage Door Repair in Austin page covers the common failures and what they cost to fix.
The Month-by-Month Austin Maintenance Table
Here’s the maintenance schedule we recommend to Austin homeowners. It’s built around the city’s real weather patterns, not a generic national calendar.
| Month | Task | Why in Austin |
|---|---|---|
| January | Inspect weatherseal for cracks; test balance with two-foot lift | First hard freezes expose rubber that’s already UV-damaged from the prior summer |
| February | Lubricate rollers, hinges, springs; check opener force settings | Dry winter air makes metal-on-metal wear louder and faster |
| March | Test auto-reverse sensors; inspect cables for fraying | Start of thunderstorm season; sensors get knocked out of alignment by wind and vibrations |
| April | Inspect and tighten all bolts and track brackets | Pre-summer temperature swings cause expansion and contraction that loosens hardware |
| May | Lubricate everything again; check weatherseal on west-facing doors | First 100°F days are approaching; spring heat fatigue begins |
| June | Test spring tension; listen for grinding or squealing | Peak heat load on springs; this is when we see the most spring failures in Austin |
| July | Inspect weatherstripping for brittleness; check garage door balance | UV exposure at its maximum on south- and west-facing doors |
| August | Check opener logic board for signs of heat stress; test wall button | Hottest attic month; logic boards and capacitors fail disproportionately now |
| September | Inspect cables and pulleys; test manual release | Storm season’s second peak; cables take extra strain if wind flexes the door |
| October | Lubricate rollers, hinges, springs; clean tracks | Post-summer grit and dust accumulate in tracks and on moving parts |
| November | Check weatherseal again; inspect bottom seal for gaps | Before the first freeze, replace any seal that’s cracked or shrunken |
| December | Test balance; verify opener force settings haven’t drifted | Cold snaps make an unbalanced door more obvious and more dangerous |
You don’t need to treat this as rigid. If you only remember three things, remember: lubricate every season, test spring tension monthly, and replace weatherseal the moment it looks cracked. Those three tasks prevent the majority of the Austin-specific failures we see on service calls.
Lubrication: What to Use, What to Avoid in 100°F Attics
Most homeowners grab a can of WD-40 from the garage shelf and hose down the springs. That’s the single most common lubrication mistake we see, and it’s worse in Austin than anywhere else. WD-40 is a solvent and water displacer, not a lubricant. It cleans rust off a hinge and then evaporates, leaving the metal drier than it was before. In a 140°F attic, it vanishes within hours and leaves a sticky film that attracts Hill Country dust and cedar pollen.
The lubricants that hold up in Austin’s attic heat are lithium-based greases and pure silicone sprays. White lithium grease stays put at temperatures up to 300°F and doesn’t break down into grit-attracting sludge. Silicone spray is thinner, doesn’t attract dust, and is safe on rubber and plastic parts where lithium grease would cause swelling. We recommend lithium grease for metal-on-metal contact points like hinges, rollers, and torsion springs, and silicone spray for weatherstripping, nylon rollers, and the opener chain or screw drive.
What to avoid in an Austin garage:
- WD-40 or any penetrating oil as a lubricant; it evaporates fast in attic heat and leaves a residue that collects dust
- Heavy axle grease on rollers or hinges; it cakes up in summer heat and hardens in winter cold snaps
- Motor oil or 3-in-1 oil on torsion springs; it drips in the heat and attracts grit that accelerates wear
- Any product with a strong solvent smell; it’s breaking down before it’s done anything useful
Here’s the lubrication routine, step by step:
- Close the garage door and unplug the opener. You’re working with the door stationary, and you don’t want the motor to engage while your hand is near the track.
- Apply lithium grease to each hinge pivot point where the metal plates move against each other. One short spray or dab per hinge, no more.
- Lubricate the roller stems and bearings. If you have steel rollers, a light coat on the stem. If you have nylon rollers, a small dab on the bearing where the roller spins.
- Spray silicone on the torsion spring evenly along its length. The goal is a light film, not a dripping coat.
- For opener maintenance, apply a light silicone spray to the chain or screw drive rail if you have a chain or screw drive opener. Belt drives need no lubrication.
- Wipe up any drips with a rag. Excess lubricant on the floor is a slip hazard, and on the track it collects dust and jams the rollers.
If your door still squeaks or strains after a proper lubrication, the issue is usually worn rollers or a tired spring, not a lack of oil. Our Garage Door Spring Repair in Austin page explains the signs of spring failure and what replacement costs here.
How to Test Spring Tension Safely From the Ground
You never need to touch a torsion spring to test whether it’s holding proper tension. The two-foot lift test gives you a reliable answer from the ground, with no tools and no risk. Here’s how it works.
- Close the garage door completely. Disconnect the opener by pulling the red emergency release cord, which hangs from the trolley. The door should now operate manually.
- Grip the door handle or bottom edge with both hands and lift. The door should move smoothly and stay where you leave it.
- Raise the door until the bottom edge is about two feet off the ground, then release it slowly. A door with healthy spring tension stays put. It doesn’t drift up. It doesn’t drop down.
- If the door falls to the floor, the springs are under-tensioned and either need adjustment or replacement. Springs that are failing do this gradually, so you might notice the door getting heavier month by month.
- If the door springs upward, the springs are over-tensioned. This is less common than under-tensioning but more dangerous, because an over-tensioned spring stores more energy and can fail violently.
- Reconnect the opener by pulling the red cord toward the door until the trolley clicks back into place. Run the opener once to confirm it engages.
Do this test once a month. It takes thirty seconds and it catches spring fatigue months before the spring actually snaps. In our experience on Austin doors, a spring that can no longer hold the door at the two-foot mark is usually within six to eight weeks of failing completely. If your door fails this test, have it looked at. The springs that came with a builder-grade door in Austin are often rated for only 5,000 to 7,000 cycles, which means about five to seven years of normal use here. If the door is older than that, pay attention to this test.
Torsion springs, the heavy coils mounted above the door that handle most of the lifting weight, are under extreme tension. A spring under load can release that stored energy all at once and cause serious injury. Never adjust, unwind, or remove a torsion spring yourself. If the two-foot test shows a problem, the right repair is a spring replacement by someone trained to do it safely. Our Garage Door Spring Repair in Austin page details what’s involved and what a replacement runs in Austin.
Weatherstripping: UV Brittleness on South- and West-Facing Garages
Weatherstripping on a garage door is the rubber or vinyl seal that runs along the bottom edge and up the sides of the door. Its job is to keep rain, drafts, insects, and dust out. In Austin, it has an additional enemy that most national checklists don’t mention: ultraviolet radiation. South- and west-facing garage doors take direct afternoon sun for six to eight hours a day from March through October. That exposure breaks down the molecular bonds in rubber and vinyl weatherseal far faster than manufacturers’ stated lifespans suggest.
We’ve replaced weatherseal on doors in Tarrytown and Zilker that was only three years old but had already turned stiff, cracked, and chalky. The same seal on a north-facing door in the same neighborhood might last six or seven years. If your door faces south or west, inspect the seal every spring and every fall, and expect to replace it more often than your neighbors across the street.
How to inspect weatherstripping for UV damage:
- Run your finger along the bottom seal. If it feels stiff or leaves a chalky residue on your skin, the rubber is breaking down.
- Bend a section of the side seal between your thumb and forefinger. Healthy rubber flexes and returns to shape. Brittle rubber cracks or stays bent.
- Look closely at the bottom seal where the door meets the concrete floor. Hairline cracks that run perpendicular to the length of the seal are the first sign of UV fatigue.
- Check the corners. Weatherseal failure almost always starts at the corners of the bottom seal, because that’s where heat concentrates and where the seal takes the most compression from the door’s weight.
- On the inside of the garage, look for light coming under the door during the day. If you can see daylight through the bottom gap, the seal is compressed or cracked and needs replacement.
Replacing a bottom seal is a DIY-friendly task on most doors if the seal slides into a T-shaped retainer channel. On doors with nailed-on or glued seals, or on wood doors where the retainer is rotting, the job gets more involved and is usually better left to a pro. Side seals and top seals can be replaced with peel-and-stick weatherstripping from a hardware store, but the adhesive needs an afternoon above 60°F to cure properly.
The One Limit-Switch Adjustment You Can Make, and Three You Shouldn’t
The limit switches on a garage door opener tell the motor where to stop when the door is fully open and fully closed. When they drift out of adjustment, the door either doesn’t close all the way to the floor, or it slams into the floor and reverses back up. On a new opener, the limit switches are set with a simple pair of screws or a digital interface on the motor unit.
The one adjustment a homeowner can safely make is the close limit setting, the one that tells the door where the floor is. Here’s how:
- On most older openers, there are two screws on the motor unit: one marked “up” or “open,” one marked “down” or “close.” On newer openers with a digital display, the setting is in the menu under “limits.”
- If the door stops an inch or two above the floor, the close limit needs a small adjustment. Turn the “down” or “close” screw a quarter turn in the direction marked to lower the stop point. On digital openers, use the arrow buttons to lower the close limit by one increment.
- Test the door. It should close to the floor, compress against the seal, and stop. If it still stops short, adjust another quarter turn.
- If the door bounces back up after hitting the floor, you’ve gone too far. Turn the screw back slightly and test again.
Three adjustments most manufacturers say void the warranty if you touch them yourself:
- The force or sensitivity adjustment. This controls how much resistance the opener senses before it reverses. Set it too high and the door won’t reverse if it hits a child, a pet, or a bicycle. Most opener warranties are voided if the force setting has been tampered with.
- The auto-reverse sensor alignment. The photo-eye sensors at the bottom of the track can be realigned by gently bending the metal bracket even though the manual says to use a screwdriver. A sensor that’s knocked out of alignment is a warranty claim on a new opener. A sensor that’s been adjusted out of alignment by hand is a safety violation.
- The spring tension adjustment. This is not technically an opener adjustment, but it interacts with the opener heavily. Adjusting torsion springs yourself voids the spring warranty and the opener warranty in most cases, and it’s the most dangerous garage door task there is.
If the opener is more than ten years old, the limit switches are probably not your only problem. Openers in Austin attics die younger than the national average because the logic board sits in a 140°F environment for four months of the year. When an old opener starts misbehaving, the fix is often a new opener, not a new limit-setting. You can find pricing and replacement details on our Garage Door Installation in Austin page.
Opener Maintenance for Storm-Season Power Fluctuations
Hill Country thunderstorm season runs from March through June and again from September through October. Lightning strikes close to power lines, wind flexes tree branches into overhead wires, and the voltage coming into your house sags and spikes. Garage door openers are especially sensitive to this because they run on low-voltage logic boards that don’t tolerate power noise well.
We see a pattern every storm season: a homeowner calls after a thunderstorm and the opener is dead, or the door opens uncommanded, or the wall button flashes but nothing happens. The logic board has been fried by a power surge, or the capacitor has blown, or the safety sensor has been knocked out of alignment by the vibration and static. The fix for a fried logic board is usually a new opener, because the board replacement cost approaches the cost of a new unit on most models.
What you can do to protect your opener during storm season:
- Plug the opener into a surge protector rated for appliances. It won’t stop a direct lightning strike, but it will absorb the smaller sags and spikes that do most of the damage. The protector should be replaced every two to three years, because the sacrificial components inside wear out.
- Unplug the opener during severe thunderstorms, especially if lightning has been striking close. Thirty seconds of effort protects a $200 to $400 logic board.
- After a storm, run the door once and watch it. If it hesitates, reverses unexpectedly, or the lights flicker on the motor unit, you may have damage that will worsen over the next few weeks.
- Check the safety sensors after any storm with high wind. Branches, lawn furniture, and flying debris can knock the sensor brackets out of alignment, which makes the door refuse to close.
Openers that are consistently exposed to Austin’s attic heat plus storm-season power noise often don’t make it past twelve years. Chamberlain, LiftMaster, and Genie openers all have similar lifespans here regardless of the brand’s reputation. If your opener is older than ten years and starting to act up after storms, begin budgeting for replacement rather than chasing individual component repairs.
Common Mistakes to Avoid
- Using WD-40 on springs and rollers. It evaporates in Austin’s attic heat within hours and leaves a dry, sticky residue that attracts dust and cedar pollen. Use lithium grease on metal parts and silicone spray on rubber and plastic instead.
- Ignoring a door that’s getting harder to lift manually. An opener can mask a failing spring for months because the motor does the work. If the door feels heavy when you disconnect the opener, the spring is the problem, and it’s getting worse every cycle.
- Replacing weatherseal with whatever’s on the shelf at the hardware store. Not all bottom seals fit all doors. A seal that’s the wrong T-channel size or the wrong width pulls loose within weeks and leaves the same gap you were trying to close.
- Tightening the torsion spring yourself. Torsion springs store enough energy to break bones or cause a fatal injury if the winding bar slips. This is the one repair on a garage door that should never be a DIY project.
- Skipping the two-foot lift test because the door “sounds fine.” Springs lose tension gradually, not all at once. The first sign is a door that’s slightly harder to lift manually, not a door that won’t open. By the time it’s obvious, the spring is close to snapping.
- Setting the opener force high so the door always closes no matter what’s in the way. That adjustment exists to keep the door from crushing things. A properly set opener reverses when it meets resistance. An improperly set one doesn’t, and the liability is yours.
- Assuming a builder-grade door is fine because it’s “only five years old.” Many builder-grade springs in Austin are rated for 5,000 to 7,000 cycles, which is five to seven years of normal use. If your house was built five years ago, the spring is already near the end of its rated life.
When to Call a Professional
Some garage door tasks are genuinely safe for a careful homeowner with basic tools: lubricating, replacing weatherseal, testing spring tension, adjusting the close limit. Others are not. Any work on torsion springs, extension springs, or the cables that run through them should be left to a trained professional. An extension spring under tension can whip through a garage with lethal force if it snaps during installation. A cable that lets go while under tension can cut like a saw blade. These are not warnings we put on every blog post to be thorough; they’re the reason garage door repair is a trade that requires training. If you need to hire a pro, our How to Hire a Garage Door Contractor in Austin: A Step-by-Step Guide walks you through the process.
Also call a pro if the door is off its tracks, if the opener won’t respond after a storm, or if any part of the door is visibly cracked, rusted, or pulling away from its mounting. Bramwell Garage Doors Austin offers free estimates across Austin, with a live person answering the phone 24 hours a day. Call (325) 246-2936 and we’ll give you a straight answer about what you’re dealing with.
Frequently Asked Questions
Most torsion spring replacements on a standard single-car garage door run between $180 and $340, parts and labor included. The same job on a heavy double door or a custom-sized door from a brand like Clopay or Amarr runs higher, typically $250 to $450, because the springs are larger and the labor time is longer. Call (325) 246-2936 for an exact quote based on your door’s size and spring type. Estimates are always free, and the price is written down before any work starts.
Every three to four months. Austin’s heat breaks down lubricants faster than in most climates, and the dust from Hill Country winds and cedar season accumulates on lubricated surfaces more quickly. Use lithium grease on metal pivot points and silicone spray on rubber and plastic parts.
No. Torsion springs are the most dangerous component on a garage door. They store enough energy to cause serious injury or death if the winding bars slip during installation. Extension springs are nearly as dangerous when they snap. This is the one task we universally recommend hiring a professional for. The money you save doing it yourself is not worth the risk.
This is usually a close-limit or force-sensitivity setting issue, not a spring problem. The opener thinks it hasn’t reached the floor and keeps pushing, then the force sensor detects resistance and reverses. A close-limit adjustment often fixes it; a force adjustment usually needs a pro.
Five to eight years on most builder-grade doors, depending on how often the door cycles and whether the springs are lubricated. The heat doesn’t directly cause springs to fail; it accelerates metal fatigue through expansion and contraction cycles. A spring that’s lubricated and on a door used four times a day will outlast an unlubricated spring on a door used eight times a day.
Yes. The combination of attic heat from May through September and storm-season power fluctuations from March through June and September through October shortens opener lifespan compared to national averages. We regularly replace openers in Austin that are eight to twelve years old, while the same opener in a cooler, storm-free climate might last fifteen years or more.
The Bottom Line
Garage door maintenance in Austin is not the same as garage door maintenance anywhere else. The heat, the UV, the dust, and the thunderstorms all take a measurable toll on springs, cables, seals, and openers. The checklist that matters is: lubricate every season with the right products, test spring tension monthly with the two-foot lift, inspect weatherstripping every spring and fall, protect your opener during storm season, and know which adjustments are safe to make and which ones aren’t. If you do those things, a door that would have failed in six years will likely make it to twelve. For more guides & resources on keeping your door running, visit our blog. If you don’t, the first sign will be a door that won’t open on a Sunday morning in July.
If you’re in Austin and want a second opinion on your door’s condition, call Bramwell Garage Doors Austin at (325) 246-2936. We’ll send a technician in a stated window, give you a written price before any work begins, and back the repair in writing with the 365-Day Done Right Promise. You can also see our full service area on the Bramwell Garage Doors Austin home page.
Written by Marcus Ellery, Owner at Bramwell Garage Doors Austin, serving Austin since 2001.
See the difference
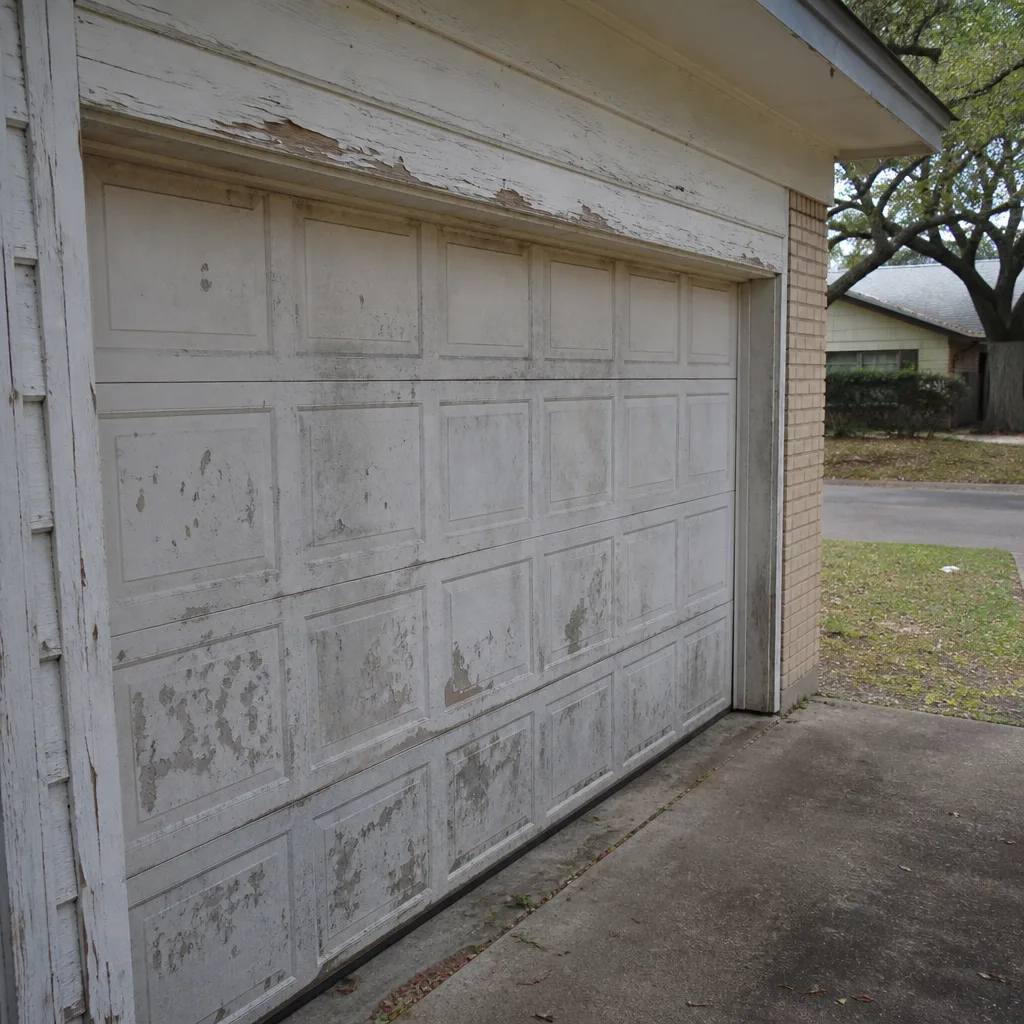 Before
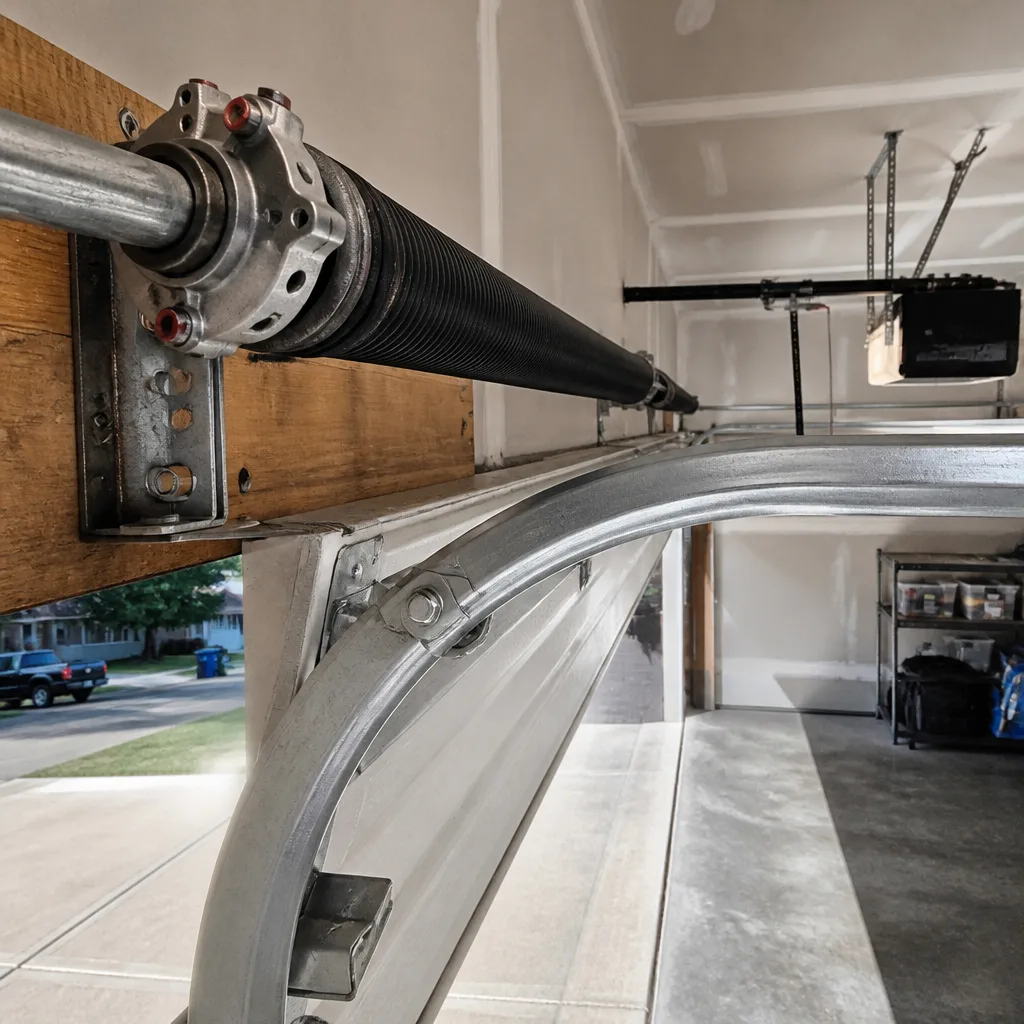 After
After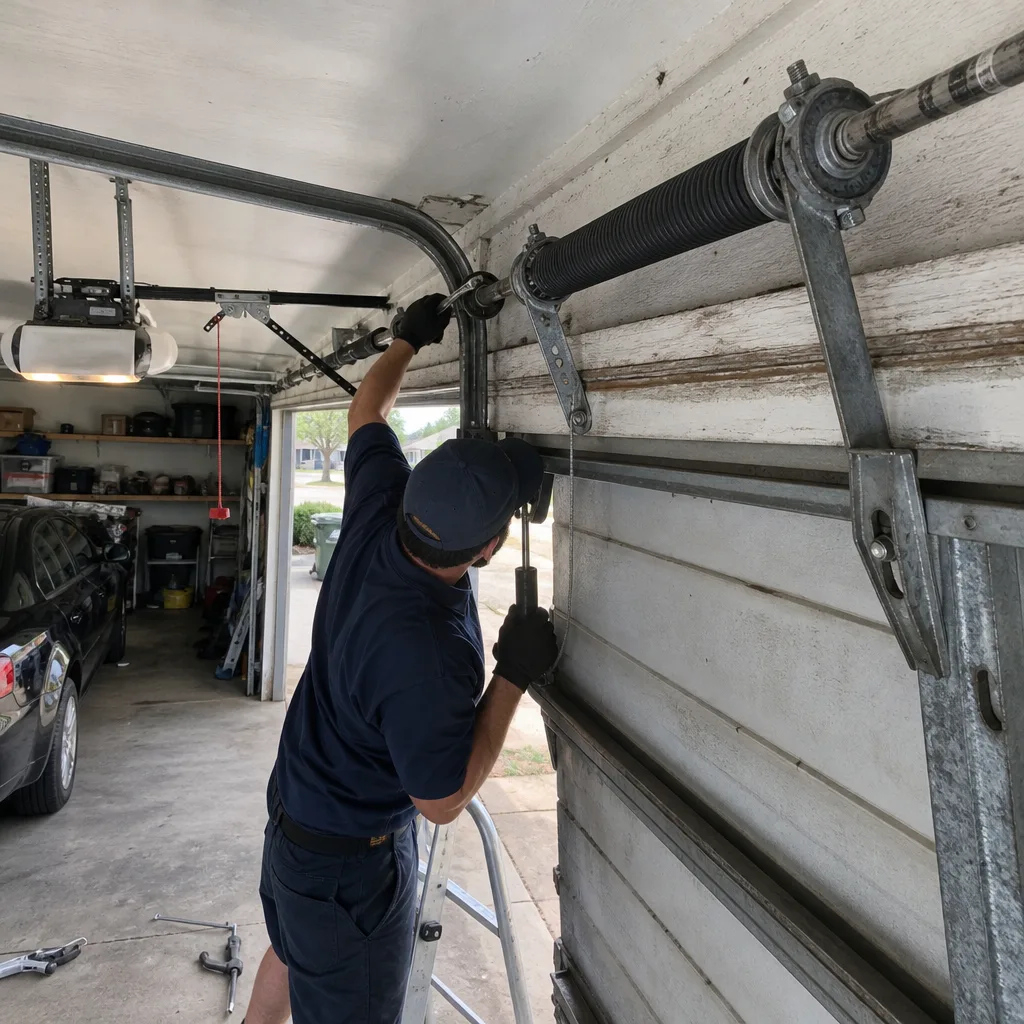 Before
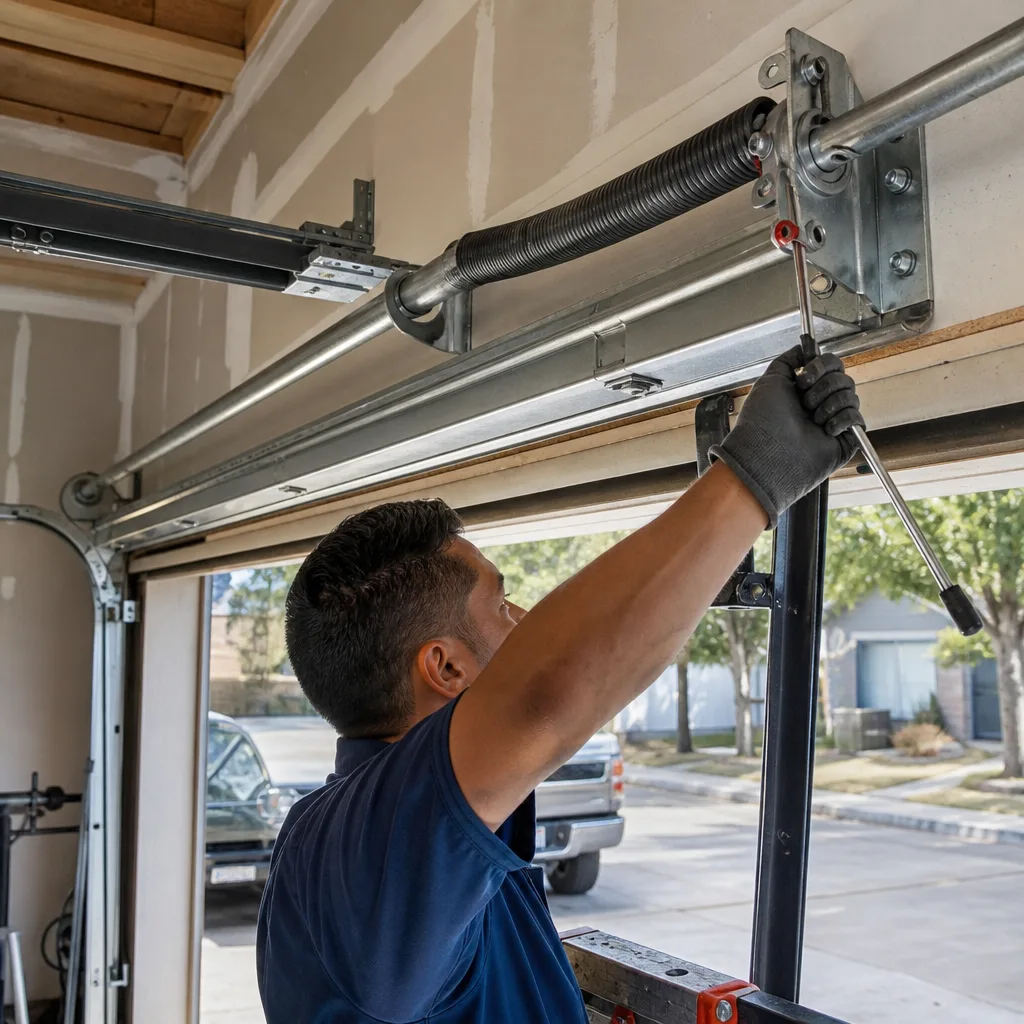 After
After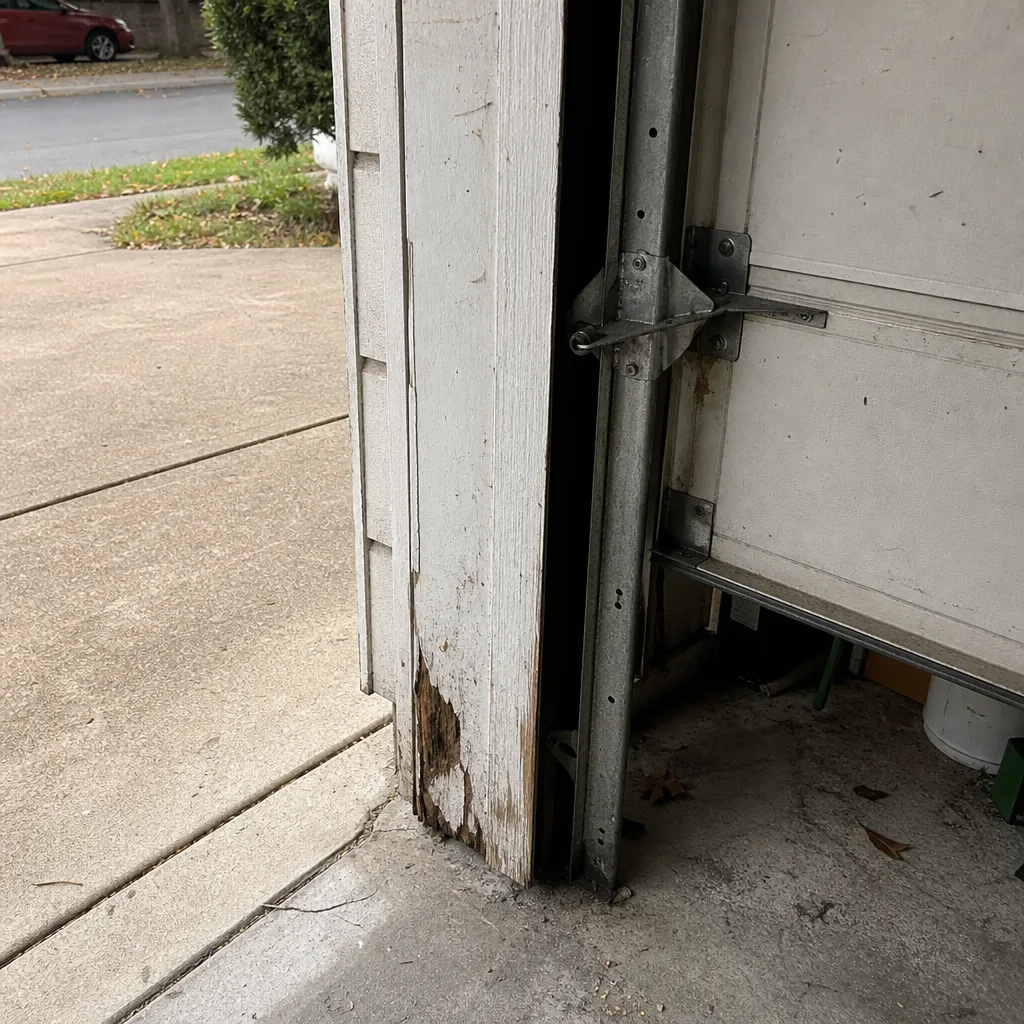 Before
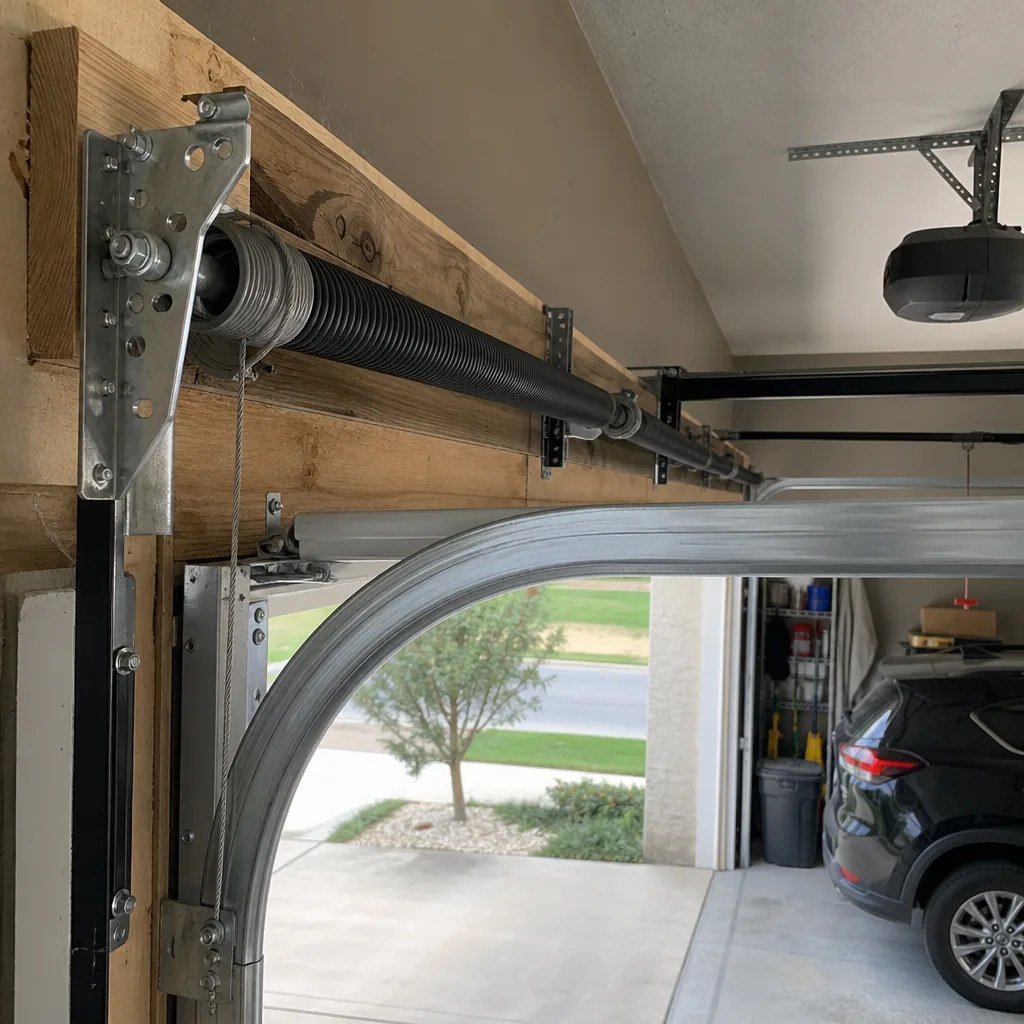 After
After