
Last updated October 16, 2026
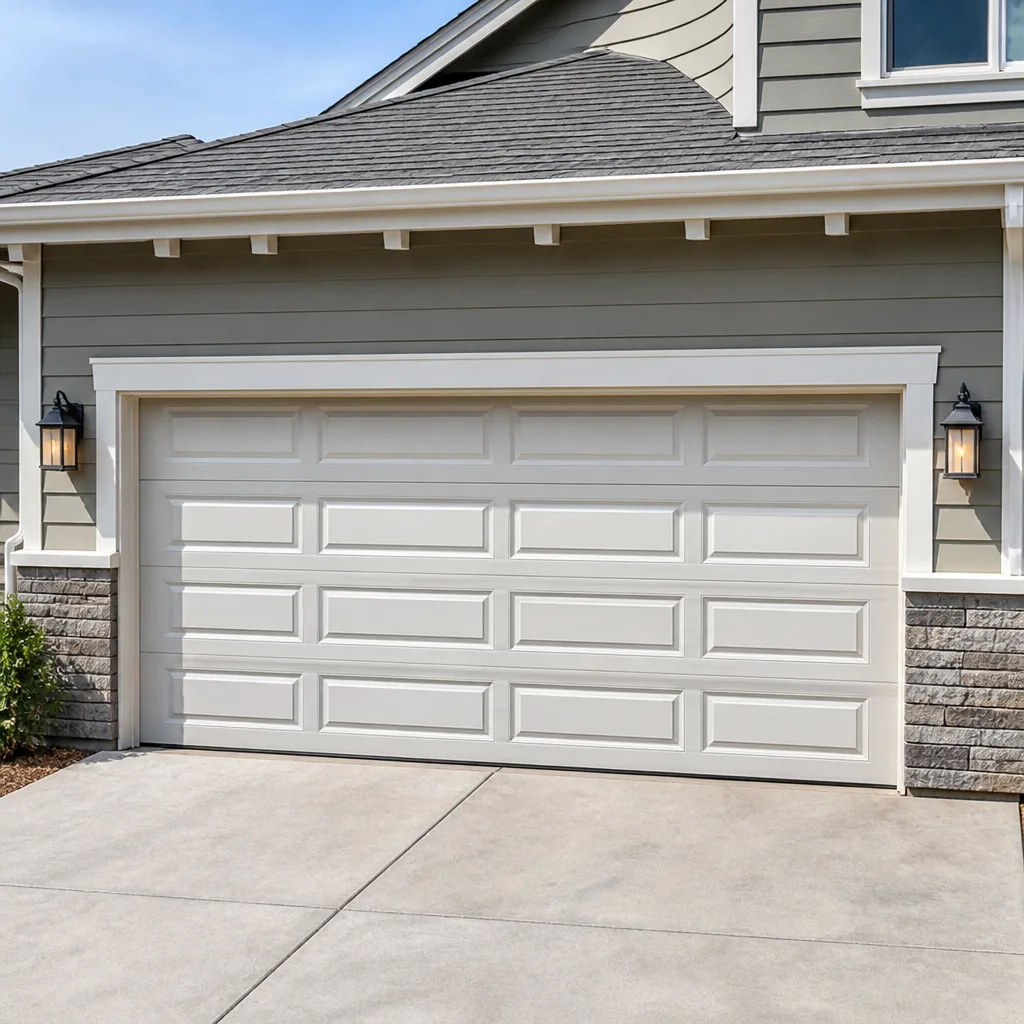 Raised-panel steel
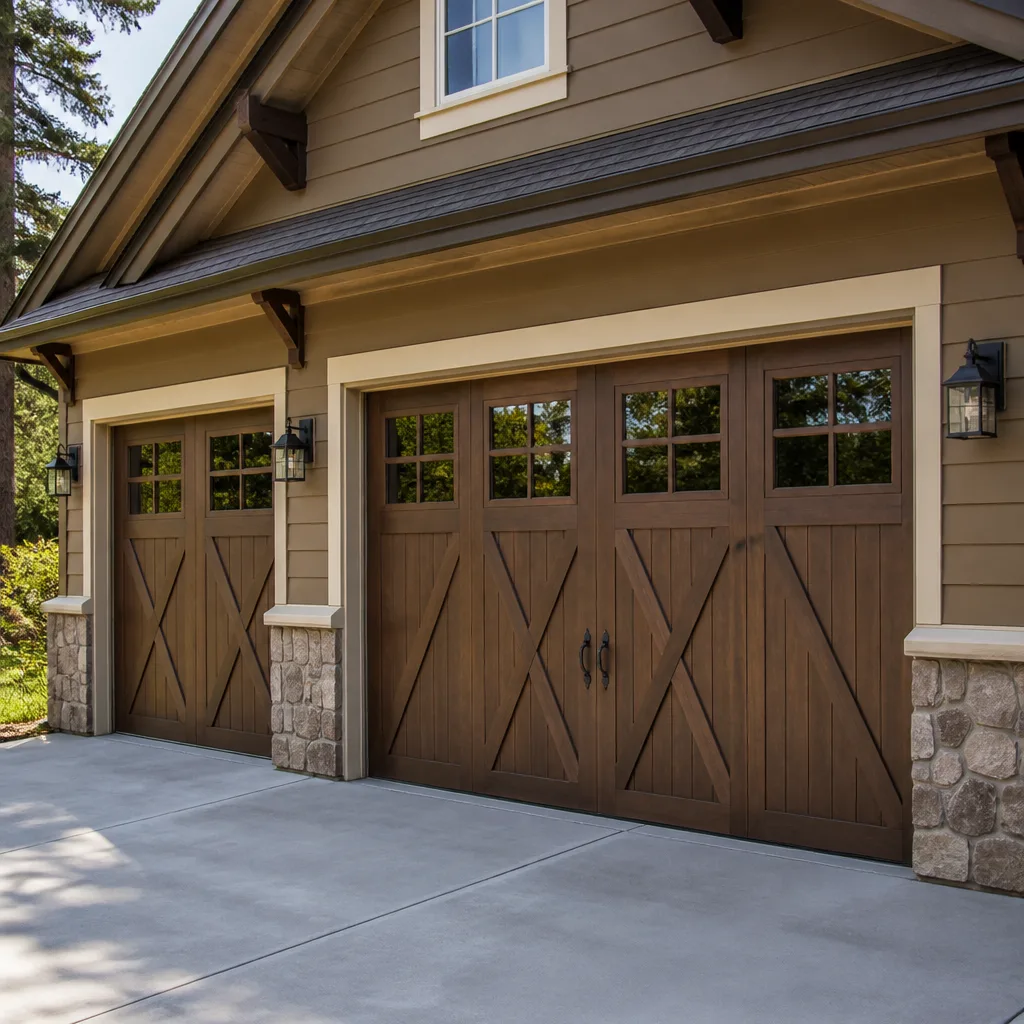 Carriage house
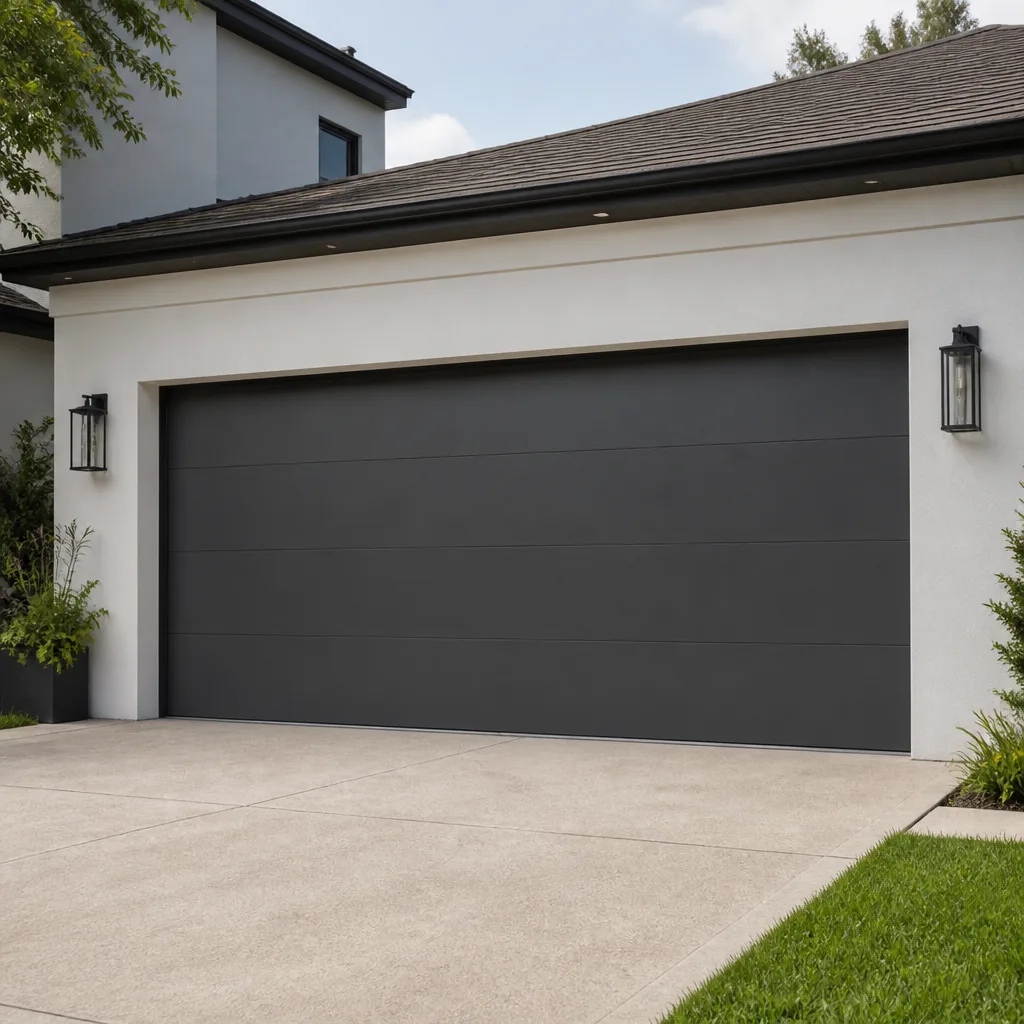 Modern flush
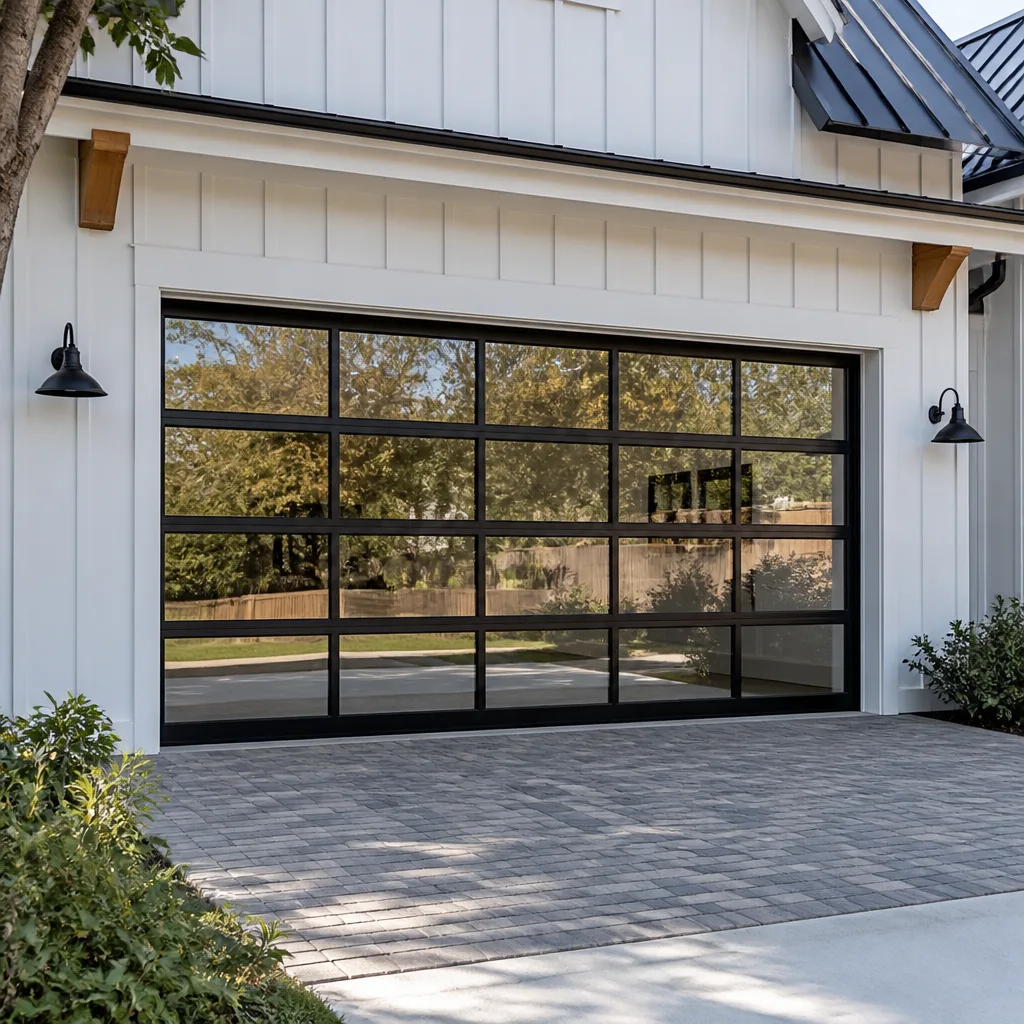 Full-view glass
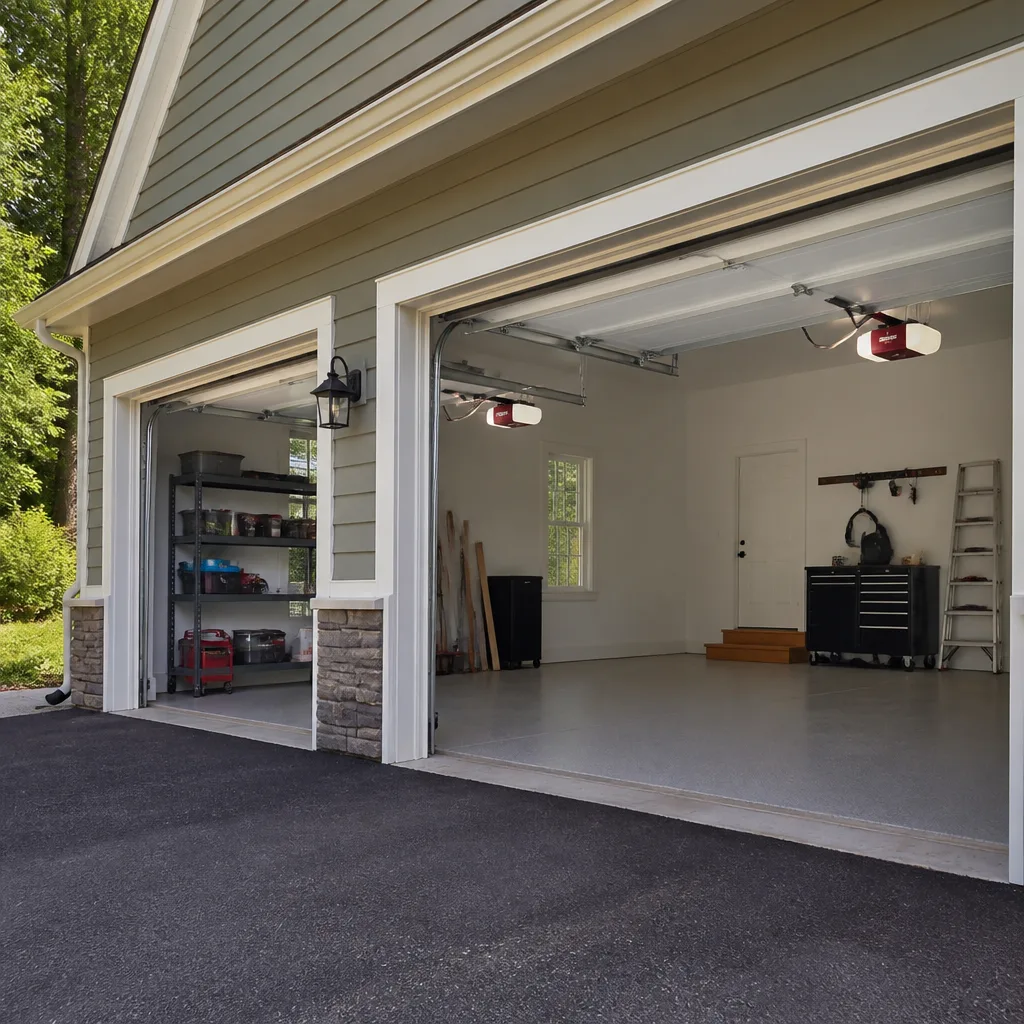 LiftMaster openers
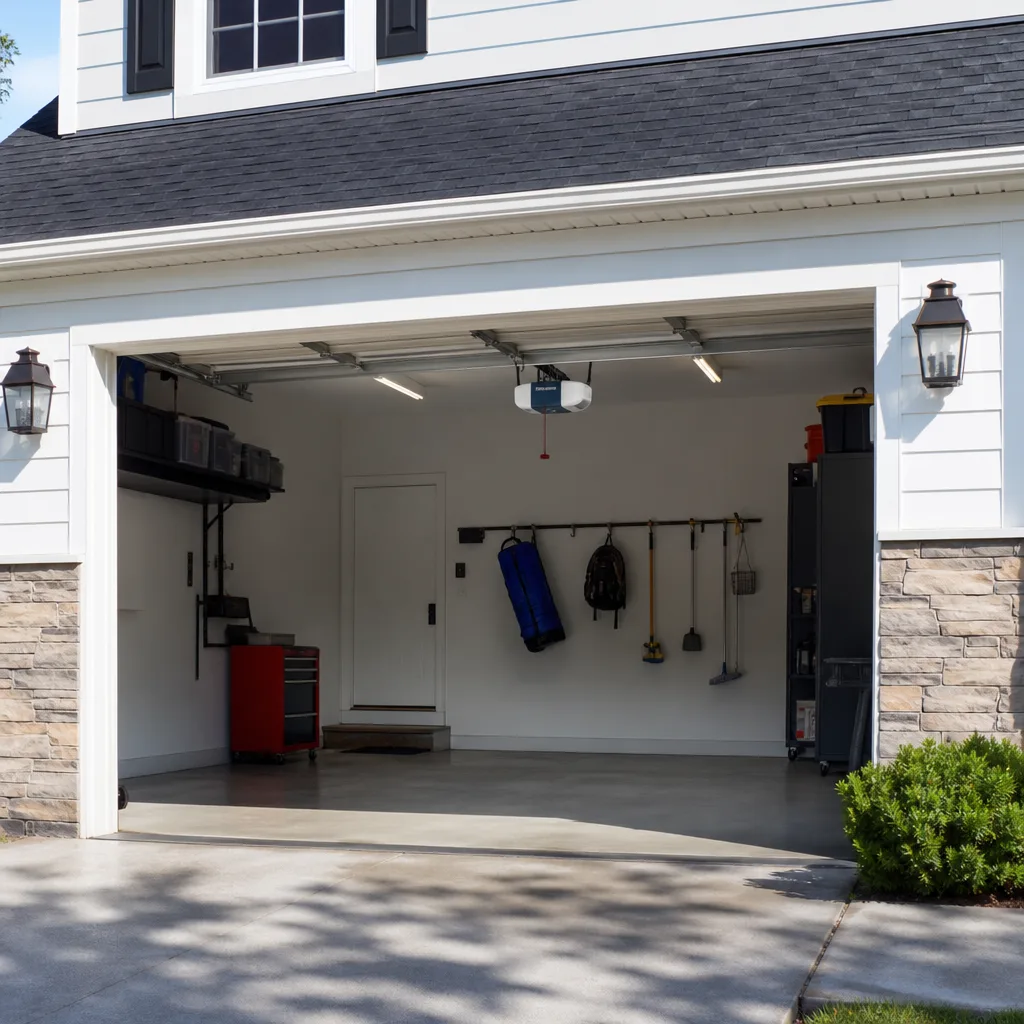 Chamberlain openers
Full 25-point door and opener safety check with every visit - springs, cables, rollers, tracks, and your LiftMaster or Chamberlain opener included
You get a price before we start. It does not change when the truck arrives.
Get your free estimateDIY vs Professional Garage Door: The Austin Homeowner’s Decision Guide
A torsion spring, the heavy coil mounted above most garage doors, stores roughly the same energy as a car’s suspension spring when it’s fully wound. That single fact explains why garage door injuries send about 13,000 Americans to the emergency room every year, and why the DIY versus professional question is not actually about saving money. It’s about knowing which repair puts you in harm’s way and which one is safe to tackle on a Saturday morning. This guide walks through the real risk categories, what Austin homeowners can safely handle themselves, what costs actually look like in this city, and how the brutal Texas heat changes the math.
Quick Answer
Most garage door maintenance tasks, like lubricating rollers and replacing weatherseal, are safe DIY projects that take under an hour. But torsion spring replacement, cable work, and opener logic-board repairs belong in a professional-only category because the stored tension in those parts can cause serious injury or death. For the middle tier of tasks, the deciding factor is usually whether you own the right tools, understand how the door’s safety systems work, and can tolerate working in a hot Austin garage.
Styles & brands we work with
Table of Contents
- The Three Risk Categories: What’s Safe, What’s Possible, What’s Off Limits
- Homeowner-Safe DIY Tasks That Actually Make Sense in Austin
- Homeowner-Possible Tasks: The Right Tools and a Lot of Patience
- Professional-Only Work: No Gray Zone on Torsion Springs
- The Real Cost Comparison: DIY Parts vs. Flat-Rate Professional Repair in Austin
- How Austin’s Heat Changes the DIY Equation
- You Already Tried the Repair: What to Tell the Technician
- Common Mistakes to Avoid
- When to Call a Professional
- Frequently Asked Questions
The Three Risk Categories: What’s Safe, What’s Possible, What’s Off Limits
After 20-plus years working on garage doors across Austin, from Crestview to Circle C to Mueller, we’ve come to see every garage door task as falling into one of three buckets. The buckets are not about skill level. They’re about what happens when something goes wrong. A mistake with a paintbrush costs you an afternoon. A mistake with a wound torsion spring can cost you a hand.
The first tier is homeowner-safe: tasks where the worst realistic outcome is that the door still doesn’t work, and you call a professional anyway. These are things like replacing a worn weatherseal, swapping out a noisy roller, tightening loose hinge bolts, and lubricating the track and hardware. None of these involve bearing the weight of the door or touching stored tension. Anyone who can operate a socket wrench and follow a five-step process can do them.
The second tier is homeowner-possible with the right tools: work that carries some mechanical risk but zero stored-tension risk. Replacing an extension spring on an older door that uses them, for example, or adjusting a belt-drive opener’s limit switch so the door stops at the right height. These tasks require specific tools, a working understanding of how the opener’s safety auto-reverse sensor functions, and enough patience to make small adjustments and test repeatedly. In our experience, about a third of Austin homeowners who attempt tier-two work finish it successfully. The other two-thirds call us by hour three.
The third tier is professional-only and there is no gray zone: torsion spring replacement, torsion spring adjustment, cable replacement or re-spooling, and opener logic-board or circuit-board repair. Torsion springs are under active tension even when the door is closed. A cable that slips while you’re working near it becomes a high-speed steel whip. If you remember nothing else from this guide, remember this: do not touch torsion springs. Call someone who does this every day.
For homeowners looking at tier-one work, Garage Door Repair in Austin is still available if lubrication and weatherseal feel like more than you want to handle on a weekend. But if you’re reading this guide because the door won’t open and you suspect a spring, the next section on safe DIY is not where you’ll find your answer.
Homeowner-Safe DIY Tasks That Actually Make Sense in Austin
Before we list these tasks, a quick note: Austin’s climate adds a layer of wear that homeowners in other markets don’t always deal with. The heat, the humidity swings, and the fine limestone dust that blows through on dry days all accelerate roller wear, dry out weatherseal, and gum up opener tracks faster than you’d expect. In many parts of the country, a weatherseal lasts four or five years. In Austin, three years is doing well. Here are the tier-one tasks that are genuinely safe for a homeowner with basic tools and a free afternoon.
1. Lubricating rollers, hinges, and the track contact points. Use a garage door-specific lubricant, not WD-40. WD-40 is a solvent and will strip whatever lubrication is already there. Apply to the roller ball bearings and the hinge pivot points where the door panels fold. Do this in the morning before the garage heats up. We’ll explain the heat-angle in a later section, but for now, trust that the 7 a.m. version of this job is much more pleasant than the 2 p.m. July version.
2. Replacing the bottom weatherseal. On a wood or steel garage door, the rubber weatherseal at the bottom is a $15-to-$30 part that slides into a groove along the bottom retainer. In Austin, you’ll replace it every two to four years. The old one will be cracked, brittle, and probably tan-colored from sun and heat. The new one slides in, with dish soap as a lubricant, and gets trimmed flush. It’s a 30-minute job. It keeps dust, rain, and small critters out of the garage.
3. Swapping a worn or noisy roller. Most rollers are nylon-wheeled with ball bearings inside. They’re cheap, $4 to $10 each at any hardware store. There’s just one rule: never remove a roller from the bottom bracket or the bracket attached directly to the cable. Those are under tension. Any other roller on the track is held in place by the track itself and is safe to swap with the door closed. Pop the old one out of the bracket, press the new one in. Repeat for each worn roller. If one roller has failed, check the others. They wear together.
4. Tightening loose bolts and hinge screws. Every time the door cycles, every bolt takes a little vibration. Over the course of a year, that adds up. Walk the door with a socket set and a ladder. Tighten any bolt that wiggles, especially the hinge plates where panels connect. Don’t over-torque. Snug is enough. If a bolt on the roller bracket is loose, fix it now, before it causes a roller to slip out of alignment and bind the door.
5. Adjusting the opener’s limit switch, on belt-drive openers only. Some belt-drive openers use a simple mechanical limit switch, a small dial or screw on the opener body that controls how far the door travels down. If the door stops 3 inches short of the slab or pushes hard into the floor and reverses, this is the adjustment. Turn the screw or dial in quarter-turn increments, test, repeat. The goal is for the door to rest on the slab without crushing a 2×4 placed flat underneath it. This is a safe adjustment as long as you stay on the opener body and away from the spring.
For homeowners who’d rather spend the weekend doing something other than garage door maintenance, Bramwell Garage Doors Austin home has a full maintenance checklist and the team handles all of the above as part of a tune-up visit.
Homeowner-Possible Tasks: The Right Tools and a Lot of Patience
This is the middle tier: tasks a careful homeowner can pull off, but not without the right tools, a clear understanding of the safety systems involved, and enough patience to make small adjustments and test repeatedly. These aren’t tasks you knock out in 20 minutes before dinner. They’re tasks you schedule for a Sunday afternoon when the garage is cooler than the driveway and you don’t have a pressing reason to need the car. If you’re going to attempt them, go slow, test constantly, and know when to stop.
Replacing an extension spring on a door that still uses them. Older garage doors, especially in Austin neighborhoods built in the 1970s and 1980s like Allandale and Brentwood, often still have extension springs stretching along the horizontal track on either side of the door. These springs stretch and contract, rather than wind and unwind like a torsion system. If a door has two extension springs, it nearly always makes sense to replace both at once; if one has failed, the other is close behind. The replacement process: close the door, disconnect the opener, clamp the door to the track with locking pliers so it cannot roll up, then remove and replace each spring one at a time. It’s a manageable job, but it’s not without risk. Those springs are still under tension. If one lets go while you’re working on the other, that’s a fast-moving chunk of steel. Safety glasses are not optional.
Adjusting a chain-drive opener’s up-travel and down-travel settings. Many openers, especially units from LiftMaster and Chamberlain, have travel adjustment dials or buttons on the opener body that set how far the door moves in each direction. If the door doesn’t reach the slab on the down cycle, or if it slams and bounces, an adjustment is often the fix. The process: locate the down-travel adjustment, make a quarter-turn or single-button adjustment, cycle the door, and re-test with the 2×4 method. Repeat until the door rests correctly. It’s methodical work, not difficult work.
Reprogramming or replacing a universal opener keypad or remote. This is more electronics than anything. The keypad on the wall or the remote in the car loses its pairing with the opener. The fix, in most cases, is a 30-second reprogramming sequence that involves pressing a Learn button on the opener body and entering a new code. If the remote itself is dead, a universal replacement is $20 to $40 and pairs in minutes. This is arguably the highest-success-rate DIY task in the garage.
Photoelectric sensor alignment. The auto-reverse safety sensors, commonly called photo eyes, sit near the floor on each side of the door and use an invisible beam to detect when something is under the door. If the beam is misaligned or blocked, the opener will refuse to close. The fix is usually as simple as wiping dust off the lenses and gently bending the bracket until the indicator lights show a steady signal. But if the sensors are wired incorrectly or a board fault exists upstream, no amount of lens wiping will fix it. The symptom set is the same: door won’t close. The fix is sometimes simple, sometimes not. That’s the nature of tier-two work.
If you’re considering a garage door replacement instead of continued repair, Garage Door Installation in Austin covers what to expect, including current lead times and what a new door actually costs in Austin.
Professional-Only Work: No Gray Zone on Torsion Springs
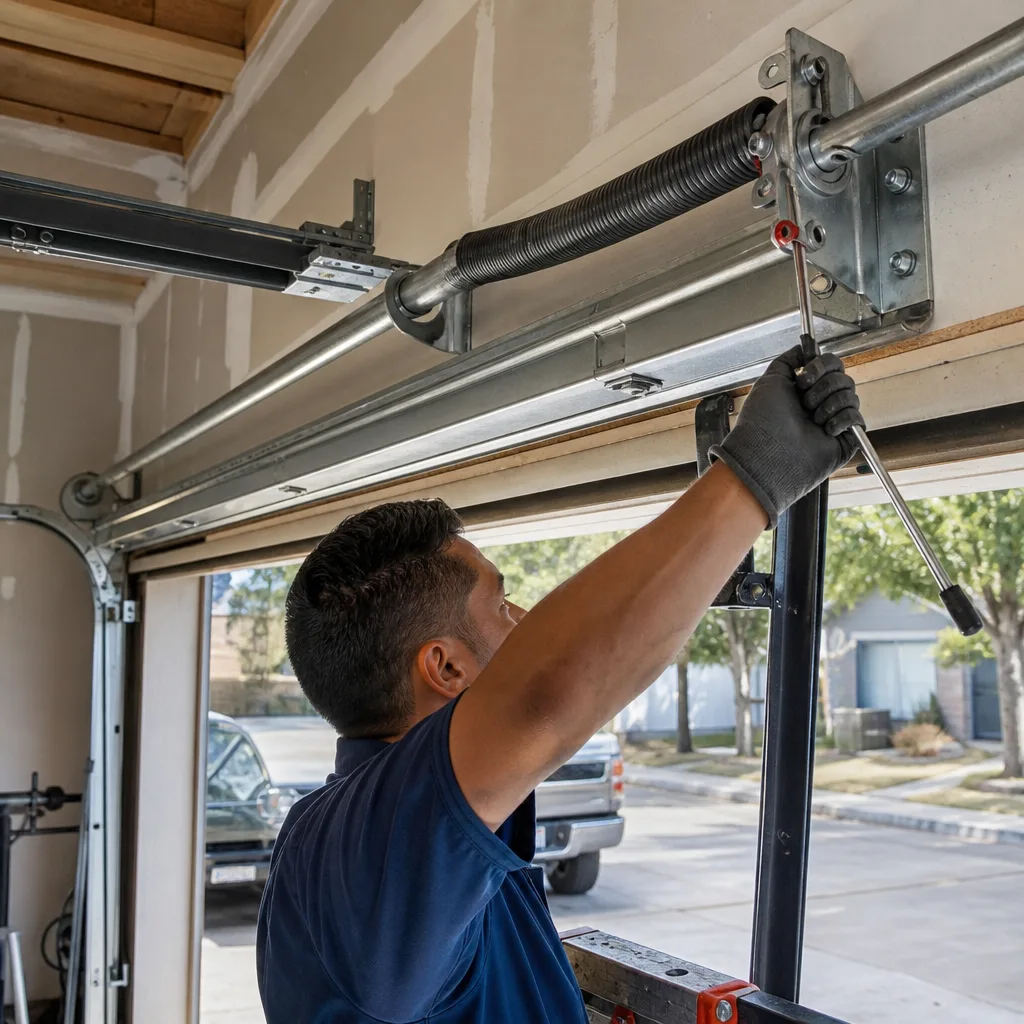
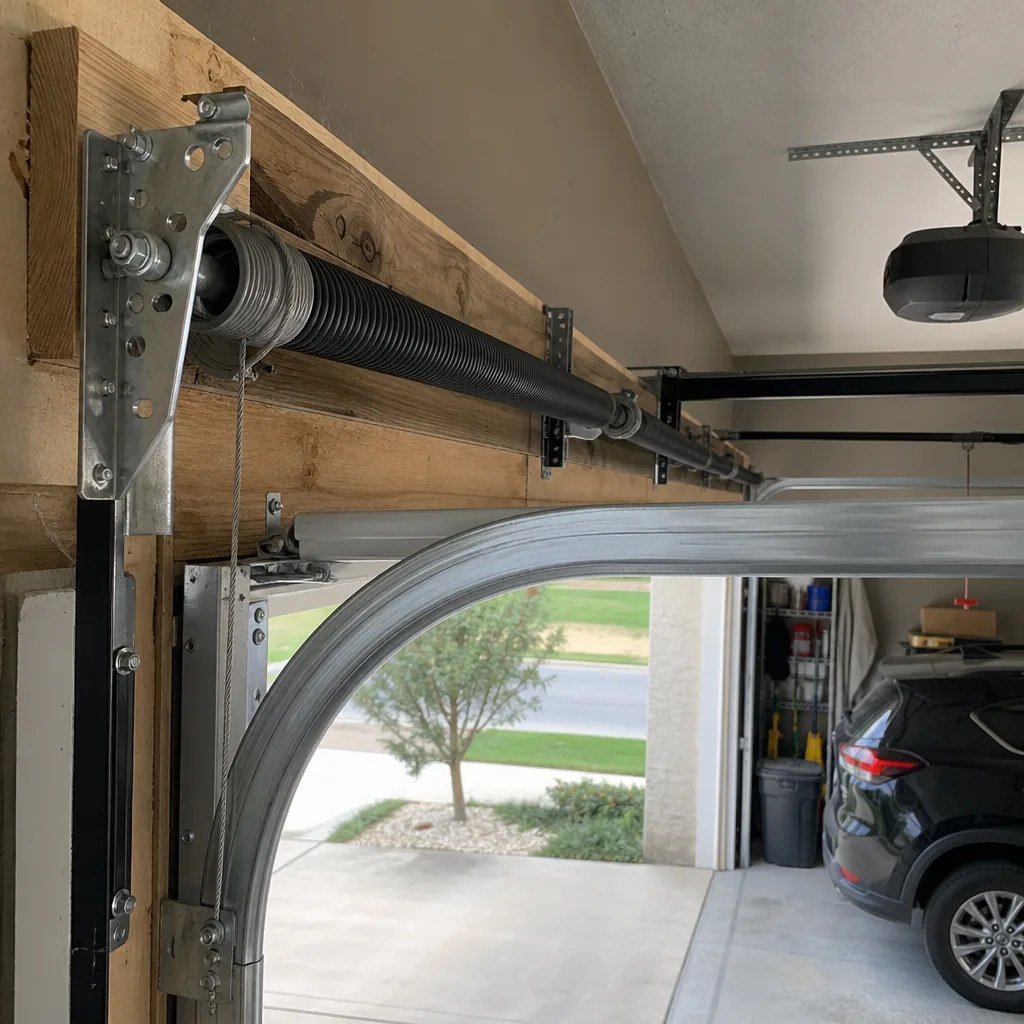
The line between safe and dangerous in a garage is not blurry. It sits in one specific place: the torsion system. A torsion spring is mounted horizontally on a steel shaft above the closed door. It does not stretch and contract like an extension spring. It winds up, accumulating rotational force, and then unwinds slowly as the door opens, discharging that force into lifting the door’s weight. When the door is closed, that spring is fully wound and holding somewhere between 100 and 200 pounds of torque, depending on the door size. When you adjust or replace a torsion spring, you are working directly with that stored force.
The classic mistake is using a plain screwdriver or socket extension in the winding cone instead of the correct winding bars. The second the spring lets go, anything that isn’t a proper winding bar becomes a projectile. We’ve seen what happens when a homeowner in Hyde Park attempted a spring repair with a screwdriver. The screwdriver bent, the cone slipped, and the spring spun down violently. He was lucky to walk away with a sprained wrist and a destroyed spring. The garage door is fine now. He got that repair from us. We’re not in the business of telling people what not to do without offering a safer alternative. Garage Door Spring Repair in Austin explains what a professional spring service includes, what it costs, and how long it should take.
Cable work shares the same category. The cables run from the bottom brackets, up the sides, and wrap around drums on the torsion shaft. They carry the door’s full weight at all times, and they’re under high tension even when the door is open. If a cable snaps or jumps the drum, the door can drop suddenly or hang crooked and bind. Re-spooling a cable means taking tension off the system in a controlled sequence. That’s not a Sunday-afternoon project. That’s a call to someone who’s done it several hundred times.
Opener logic boards and circuit boards are the third item on the professional-only list. Not because they’re dangerous to work on in the way a spring is, but because modern openers from LiftMaster, Chamberlain, and Genie use precise resistance values and coded signals. A shorted board can damage the motor, the gear assembly, or the wall console. The fix is often more cost-effective than replacing a whole opener. A trained technician can diagnose the board in a few minutes and tell you honestly whether a $90 board or a $300 opener replacement is the smarter spend. That informed choice is harder to come by when you’re staring at a circuit board at Home Depot.
For anyone working on a Craftsman, Wayne Dalton, or Clopay system, the brand does not change the risk category. The physics are the same. Torsion springs store tension regardless of the logo on the door.
The Real Cost Comparison: DIY Parts vs. Flat-Rate Professional Repair in Austin
Let’s get specific about numbers, because the DIY conversation always starts with “how much can I save?” and usually ignores the cost of time, tools, and the not-impossible scenario where the repair goes sideways and costs more than calling someone in the first place.
Scenario 1: Bottom weatherseal replacement. You can buy a universal 16-foot weatherseal at a hardware store in Austin for about $18. The job takes 30 minutes. A professional tune-up visit that includes weatherseal replacement, lubrication, and hardware tightening typically runs $89 to $129 in the Austin market. The DIY win here is real and the risk is near zero. Do it yourself.
Scenario 2: Roller replacement. A set of 10 nylon rollers costs $40 to $80 depending on quality. Tools required: none beyond what you own, assuming you have a socket set. A professional roller replacement in Austin typically runs $120 to $180. The DIY savings is maybe $80 to $100, and the time cost is an hour. Worth it, with one caveat: do not attempt this on the bottom bracket rollers, which are attached to the cables and under tension.
Scenario 3: Torsion spring replacement, DIY attempt. A pair of springs costs $60 to $100 at a parts supplier. Winding bars cost $30 to $40. If you bust a knuckle, the urgent-care co-pay in Austin is whatever your insurance decides. If you strip the winding cone or snap the spring mid-wind, you’ve now got a disabled door, a $100 paperweight, and possibly a damaged shaft. A professional torsion spring replacement through Bramwell, with parts and labor included, runs $150 to $280 for a standard two-car door in Austin, with a real arrival window, a written price before the work starts, and a written guarantee on the repair. The DIY version saves you perhaps $50 to $80 on paper, assumes everything goes perfectly, and comes with no guarantee at all.
Scenario 4: Extension spring replacement, DIY attempt. A pair of extension springs costs $30 to $50. Safety cables, which you should absolutely have, cost $20. Clamps and specialty tools add $25 if you don’t already have them. The DIY all-in is $75 to $95 and about two hours of careful work. A professional replacement in Austin is typically $120 to $180. This is the closest call in the tier-two category, and the math tips toward DIY only if you already own the clamps.
The cost conversation gets blurry when you factor in the cost of getting it wrong. Every professional repair through Garage Door Repair in Austin includes a written guarantee, so if the repair fails inside the guarantee period, you’re not paying for the redo. The 365-Day Done Right Promise means exactly that: if it’s not done right, we make it right, in writing, every time. You can’t buy that at the parts counter.
How Austin’s Heat Changes the DIY Equation
Austin’s climate is not a footnote in this conversation. It’s a main character. The same job that’s straightforward in a Portland garage in October is a different experience entirely in an Austin garage in July. And it’s not just about discomfort. The heat changes how materials behave and how safe a job actually is.
First, the obvious: an attached garage in Austin can hit 110°F by mid-afternoon in summer, which is eight months of the year. You’re working overhead for most garage door tasks, arms raised, on a ladder. Heat exhaustion sets in faster than most people plan for. The smartest scheduling advice we can give Austin homeowners: do DIY garage work at 7 a.m. or after sundown, not at 2 p.m. on a Saturday. The 7 a.m. version of lubrication or weatherseal work is pleasant. The 2 p.m. version is a fast track to a headache and a half-finished job.
Second, heat changes materials. Rubber weatherseal gets rigid in cold and gummy in high heat. When it’s 105°F outside, a piece of rubber that sat in the sun is soft enough to tear while you’re trying to slide it into a retainer groove. That’s an Austin-specific frustration you won’t find in a generic YouTube video filmed in a 70°F garage in Ohio. Metal track and hardware expand slightly in heat, which can make a door that works fine in the morning bind in the afternoon. If you’re trying to diagnose why the door sticks at 3 p.m. but not at 9 a.m., the answer is usually thermal expansion, not a broken part.
Third, the heat accelerates wear on parts, which means Austin homeowners face repair decisions more often than homeowners in cooler climates. Springs cycle and fail faster. Weatherseal cracks sooner. Lubrication dries out faster. The upside is that tier-one maintenance has a higher payoff here. Regular lubrication and weatherseal replacement, done early in the morning, extend the life of the parts that would otherwise fail faster in the heat.
You Already Tried the Repair: What to Tell the Technician
This section matters more than most people expect. Every experienced garage door technician has walked into a garage where the homeowner attempted a repair, made things worse, and then felt too embarrassed to say so. The result: the tech diagnoses the visible problem, fixes it, and then the hidden problem springs up a week later. The job goes sideways. The customer blames the technician. The whole thing could have been avoided with a 30-second conversation.
So here, for the record, is what actually happens when you tell the truth: nothing bad. The technician wants to know what you tried, what parts you touched, and whether the door has been operating normally since. That information shortens the diagnostic time and keeps the repair from missing something. Here’s what to say, and why.
1. Say exactly what you touched. “I tried to adjust the limit switch on the opener.” “I swapped out three rollers.” “The spring made a weird noise and I stopped.” That’s all we need. Specifics help.
2. Say what the door did afterward. “It worked fine for two days and then started reversing.” “It never closed again after I changed the roller.” These behavior clues tell a technician more than the visible damage does.
3. Do not hide it if you worked near or on the torsion system. This is the big one. If you put a screwdriver or a wrench on a torsion spring cone, say so. If the spring slipped or unwound, say so. The technician needs to know the spring’s current state to handle it safely. Hiding this is not protecting your pride; it’s endangering the person working on your door.
4. Expect no judgment. We’ve heard every version of this story. The homeowner who stripped the winding cone. The homeowner who dropped the door on the hood of their car. The homeowner who installed a weatherseal upside down and wondered why it flooded. None of that matters. What matters is the current state of the door and fixing it safely.
When you call for a professional repair afterward, Bramwell Garage Doors Austin home dispatch will ask a few questions about what happened and what the door is doing now. That’s not a formality. It’s how we make sure the technician shows up with the right parts on the truck.
Common Mistakes to Avoid
- Using WD-40 as a garage door lubricant. WD-40 is a solvent, not a lubricant. It will strip away the existing grease on rollers and hinges and leave metal parts dry. Use a garage door-specific lubricant or a light machine oil. In Austin’s dust, a solvent-treated track collects grit faster than a properly lubricated one.
- Removing the bottom bracket roller while the door is under tension. The bottom roller bracket is attached to the cable that bears the door’s weight. Removing that roller without first releasing spring tension is one of the most dangerous moves in a garage. We see this mistake almost weekly in Austin, and it’s a headline accident waiting to happen.
- Replacing a single torsion spring instead of both. Torsion springs are installed in pairs, and they wear at roughly the same rate. If one has failed, the other is close behind. Replacing one means paying for labor twice and living with a door that cycles unevenly until the second one goes.
- Adjusting spring tension without winding bars. The winding cone lugs are sized to accept 1/2-inch by 18-inch winding bars. A screwdriver or an Allen wrench is not a substitute. It will slip under load, and anything that slips under load in a torsion system is a missile.
- Working in the heat and not planning for it. Austin garages routinely exceed 110°F in summer. Heat exhaustion while on a ladder is a real risk, and it makes every task slower and more dangerous. If a job doesn’t get done in the morning, wait for evening or another day.
- Hiding a previous repair attempt from the technician. The technician needs to know what you changed and what happened after. A hidden partial repair makes the final fix harder to diagnose and can leave a safety issue in place. Say what you did. We don’t care that you tried. We care that the door ends up safe.
When to Call a Professional
If the door has a broken or damaged torsion spring, call. If one of the cables has snapped, frayed, or jumped off the drum, call. If the door is off balance, lifting crooked, or one side is binding, call. If the opener runs but the door doesn’t move, and the disconnect handle has been pulled and it still won’t budge by hand, call. If you’ve already touched the torsion system and the door isn’t working, call and say so. Bramwell Garage Doors Austin offers free estimates in Austin, with a live person answering the phone when you call (325) 246-2936. A written price comes before any work starts, so you’ll know the cost before a technician ever touches the door. That’s the Kingswell standard on every job, and at this point in this guide, you’ve probably earned a break from the ladder.
Frequently Asked Questions
No. Torsion spring replacement is a professional-only task because the spring is under high stored tension even when the door is closed, and improper handling can cause serious injury. Extension spring replacement on an older door is possible for an experienced homeowner with the right tools, but it still carries real risk. For torsion springs, call a professional; a full replacement in Austin runs $150 to $280 including parts and labor through Garage Door Spring Repair in Austin.
Safe DIY tasks include lubricating rollers and hinges, replacing the bottom weatherseal, swapping worn non-cable rollers, tightening loose bolts, and adjusting a belt-drive opener’s limit switch. These tasks don’t involve bearing the door’s weight or working with stored spring tension. Most use under $50 in parts and take under an hour.
A professional torsion spring replacement in Austin typically runs $150 to $280 for a standard two-car door, parts and labor included. Extension spring replacement is usually $120 to $180. The DIY parts-only cost is $60 to $100 for torsion springs, but the risk of injury and lack of warranty make the professional route the better value in most cases.
That behavior is usually thermal expansion. Austin’s summer heat causes the steel track and door panels to expand slightly, which can reduce clearance and make the door bind in the heat of the afternoon. If the door works reliably in cooler hours, lubrication and a professional balance check usually resolve the issue.
Yes, in almost every case. Torsion springs are sold as a matched pair and wear at approximately the same rate. If one has failed, the other is near failure, and replacing only one means paying for labor again when the second one goes, likely within a few months.
In Austin’s heat, a standard torsion spring rated for 10,000 cycles typically lasts 6 to 9 years for a door cycled twice daily. High-cycle springs rated at 20,000 cycles can double that lifespan and are worth the modest upgrade if you plan to stay in the home long term.
The Bottom Line
The DIY versus professional decision is not a single question. It’s three separate decisions, determined by risk category. Weatherseal and lubrication: do it yourself and save the service call. Limit switch adjustment or extension spring work: possible, if you have the tools and the patience, and if you’re honest with yourself about stopping when it’s not working. Torsion springs, cables, and opener boards: call a professional, every time. In Austin, the heat accelerates wear and makes the safe window for DIY work shorter. When the job calls for a professional, you’ll find Garage Door Installation in Austin and Bramwell’s team ready with a written price before any work begins. The door doesn’t care about your weekend plans. Plan around it, not against it.
Written by Marcus Ellery, Owner at Bramwell Garage Doors Austin, serving Austin since 2001.
See the difference
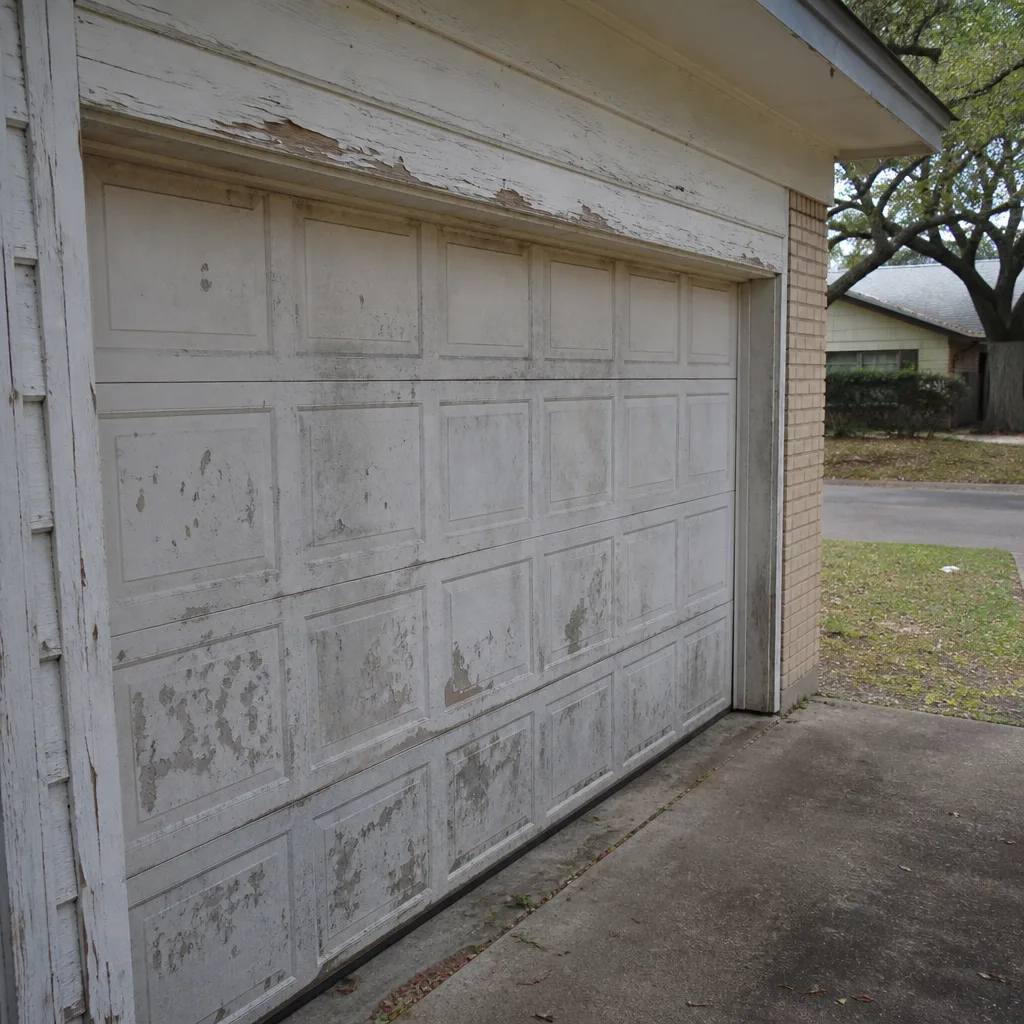 Before
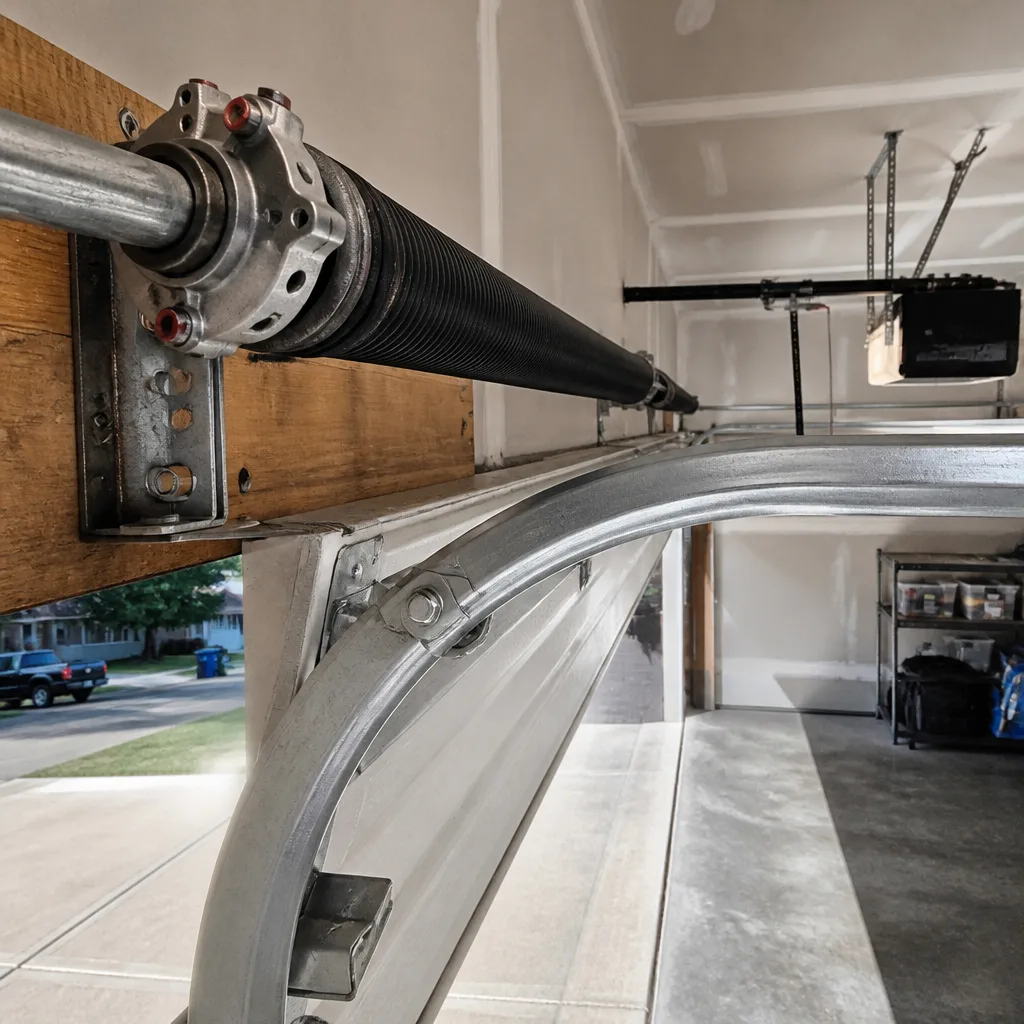 After
After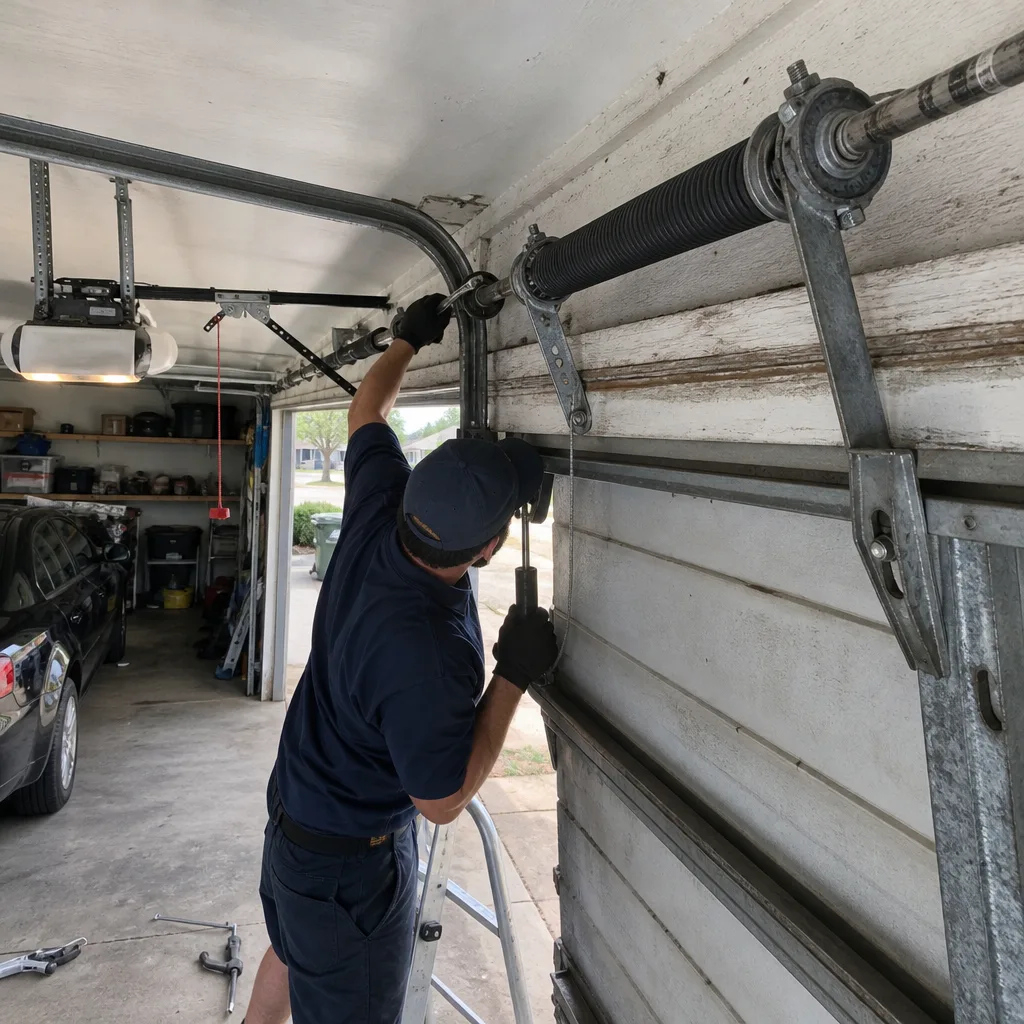 Before
 After
After Before
 After
After